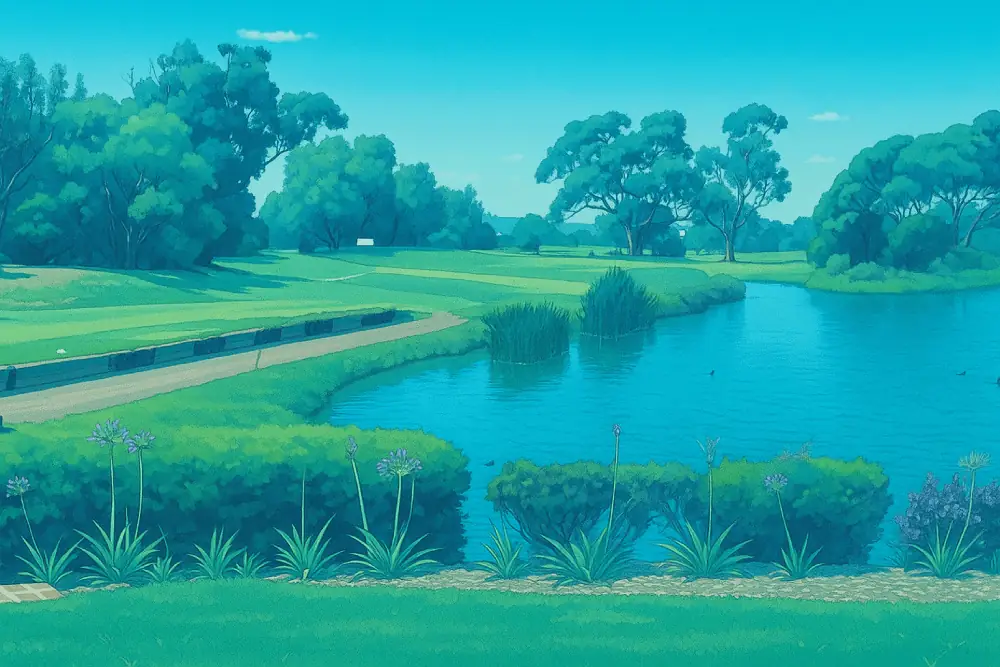
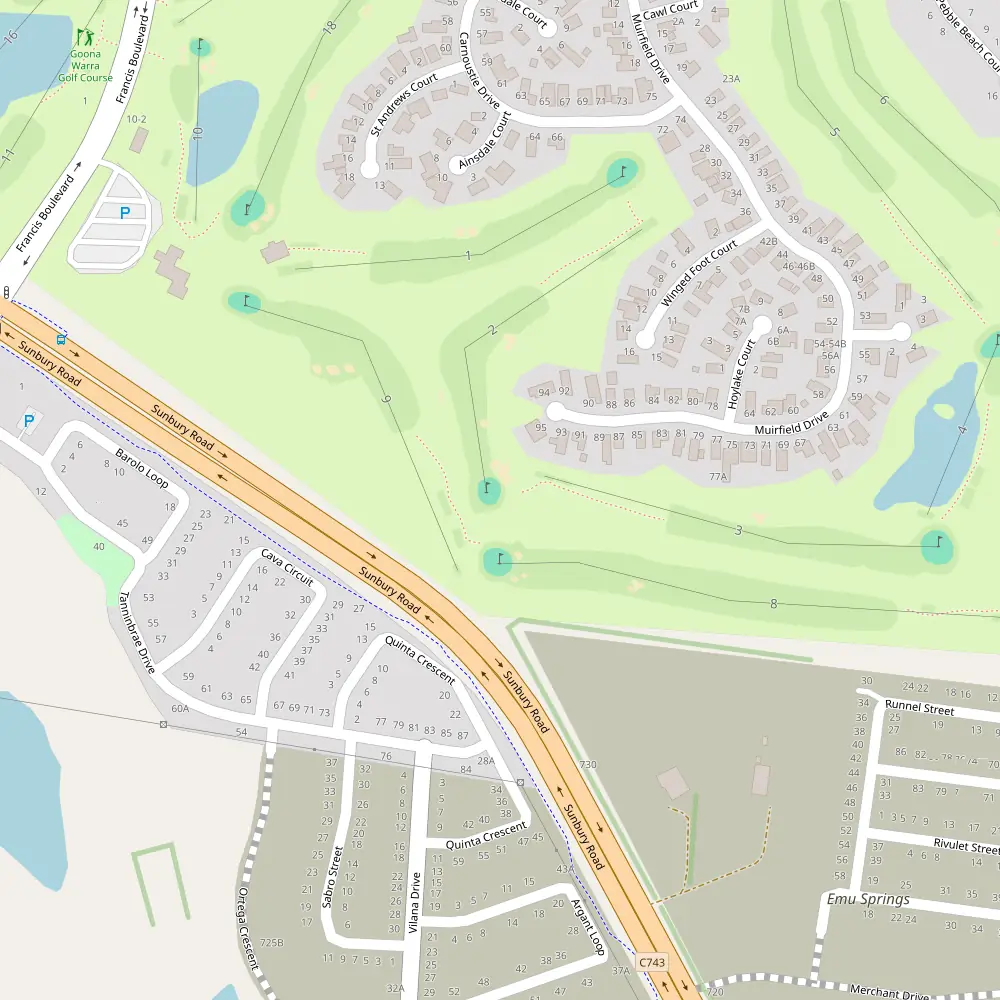
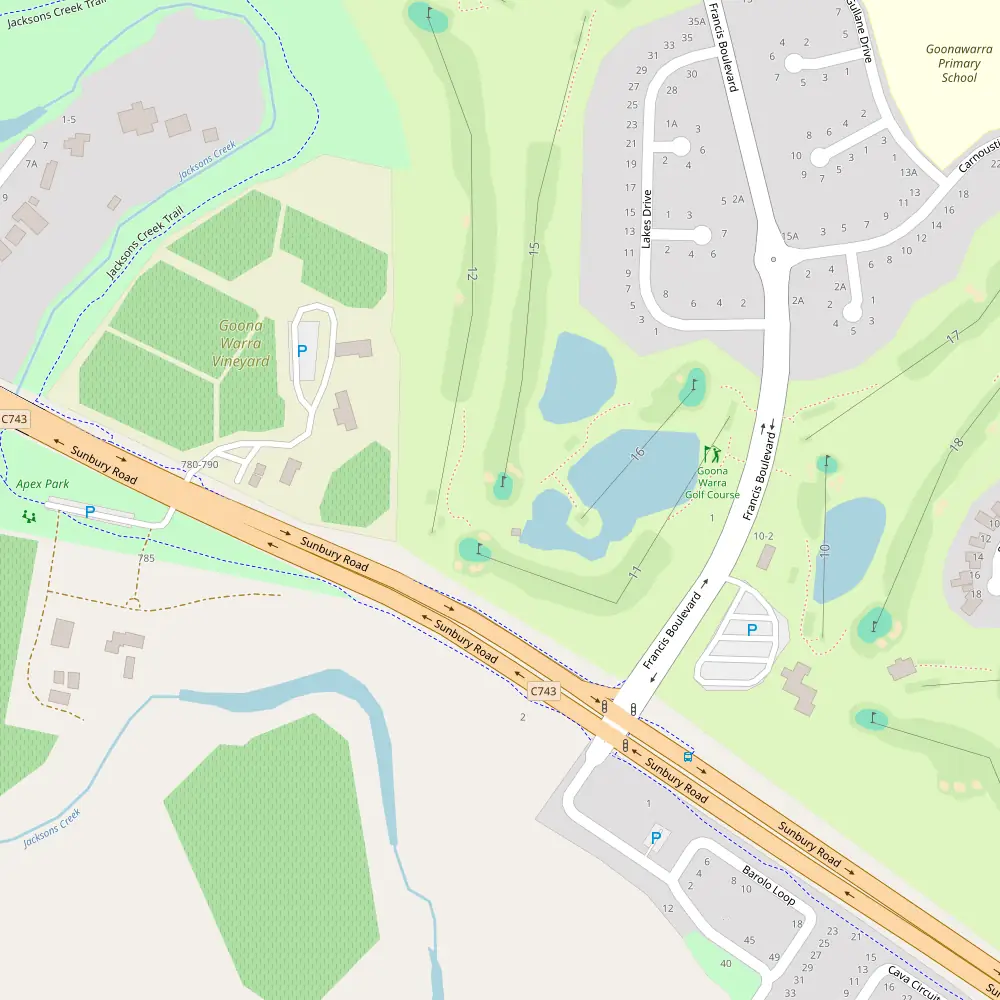
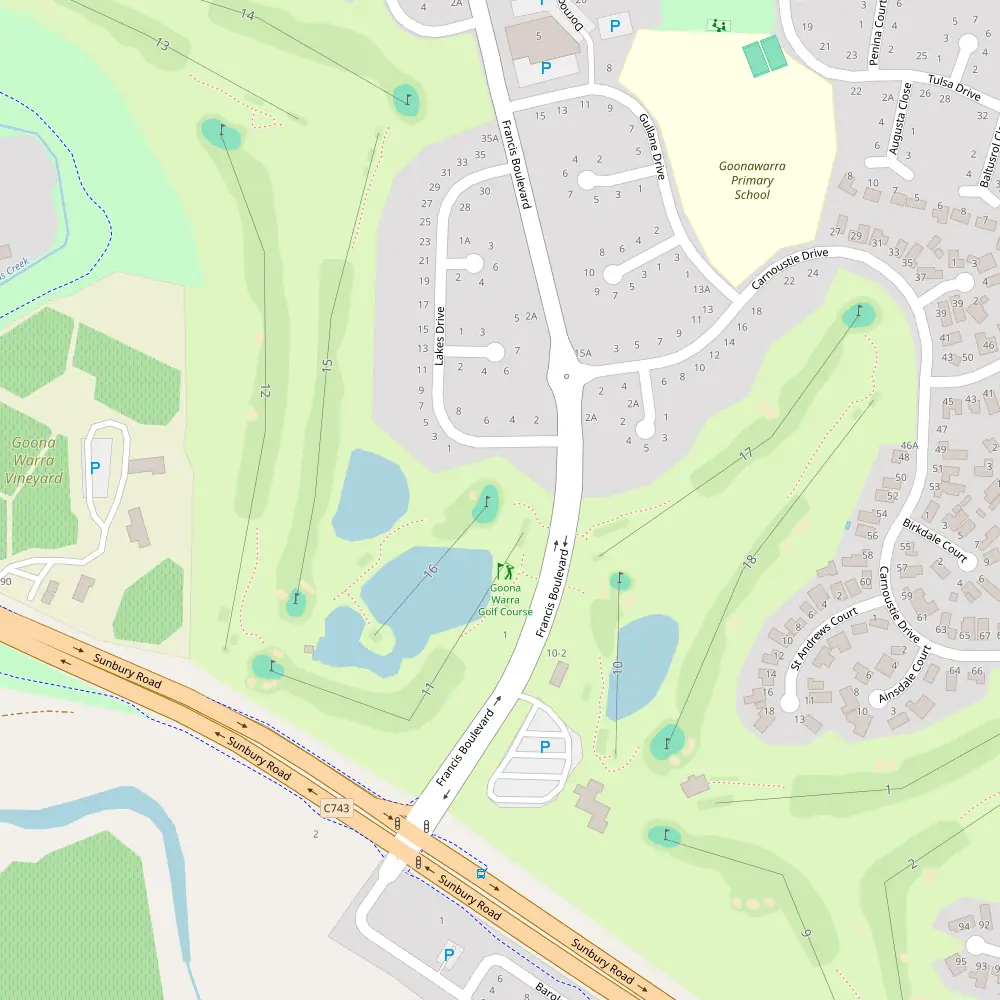
Just 40 minutes from Melbourne CBD, Sunbury Golf Course serves up a proper escape from the grind — a laid-back 18-hole track that blends scenery, strategy, and a whole lot of swing. With tee options for every level (Blue, White, and Red), the course dishes out a fair challenge no matter your handicap.
Right from the get-go, it makes you think. Hole 1, a cheeky 291m (318y) par 4 from the Blue tees, isn’t just about brute force — it’s a test of touch and tactics, with subtle undulations and a green that guards the pin like it’s state secrets.
Hole 2 stretches to 311m (340y) and keeps the pressure on. It’s a straight shooter, but don’t mistake it for simple — lose focus here and you’ll be scrambling to save bogey.
Then there’s Hole 3, and yep, you read that right — a 334m (365y) par 3. It’s not a typo, just a sneaky challenge. No dramatic water or bunkers, just a long, honest slog to a green that doesn’t give up birdies without a fight.
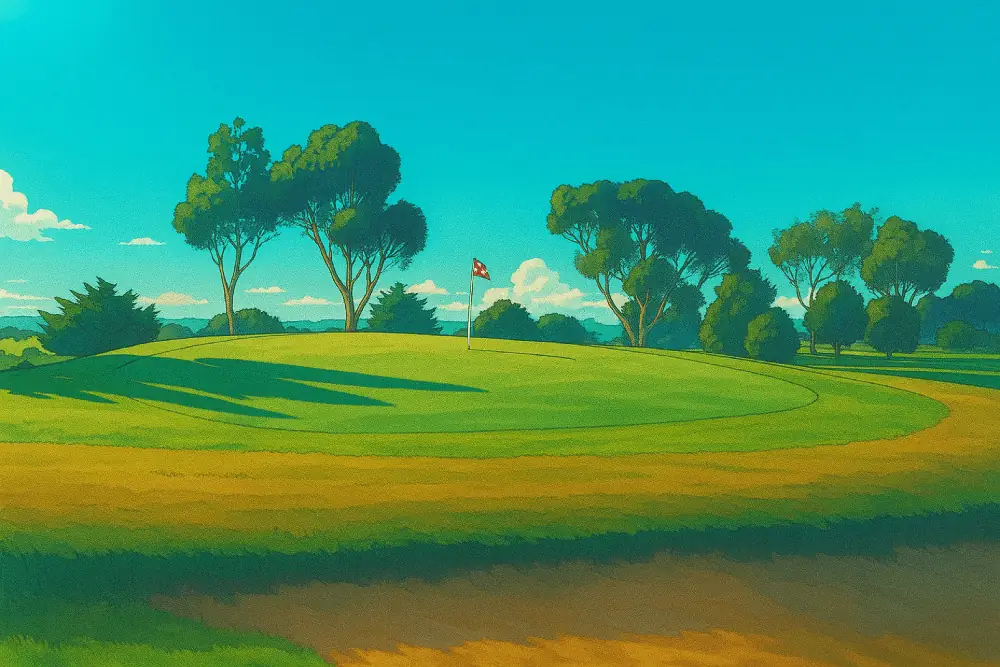
The rest of the course brings a well-balanced mix — long par 5s to open the shoulders, tight par 4s that reward precision, and par 3s that’ll keep your short irons honest. Expect tree-lined fairways, strategic elevation shifts, and the occasional dogleg that forces you to think before you swing.
Sunbury is more than just a round — it’s a full-on mental game with a scenic backdrop. Every hole adds a new twist to the round, making it a course that’s rewarding whether you’re chasing a low score or just chasing the sun with a few mates.
So chuck your clubs in the boot, round up the crew, and get yourself to Sunbury for a hit. The grass is green, the banter’s flowing, and the challenge is just right.
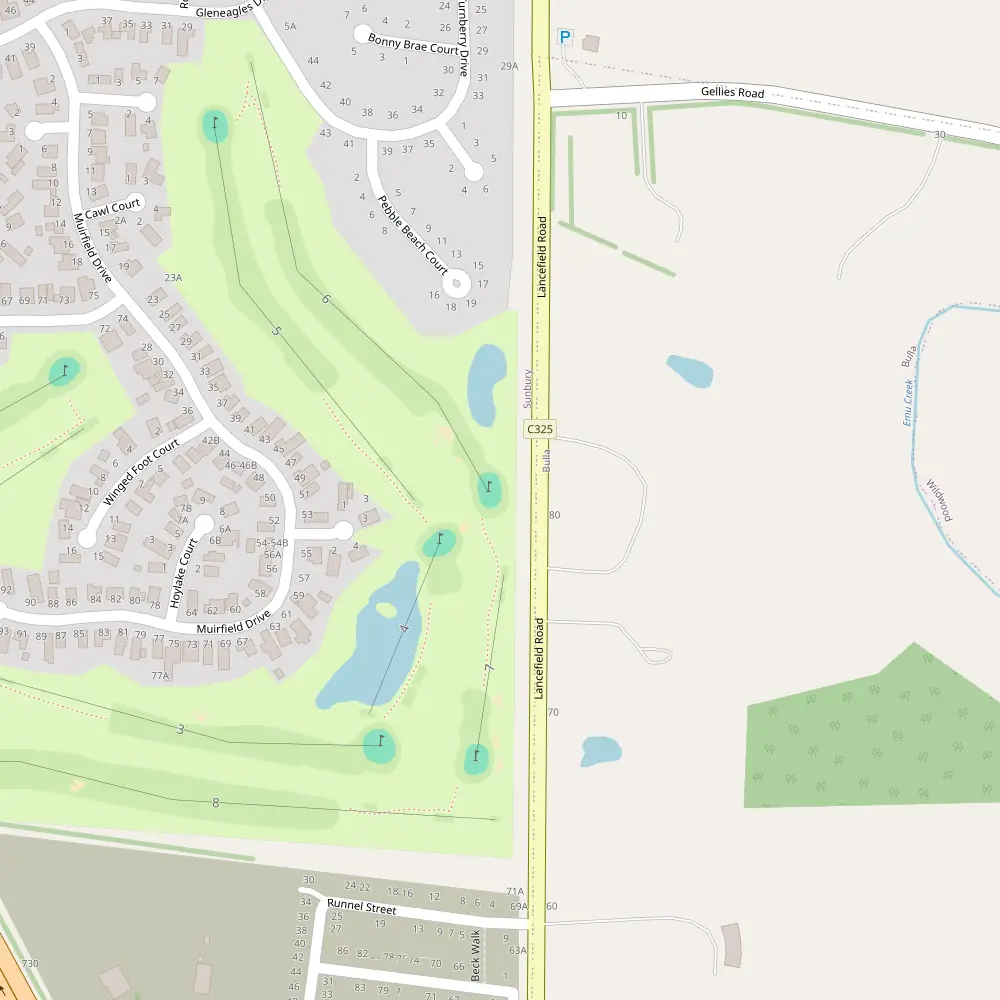
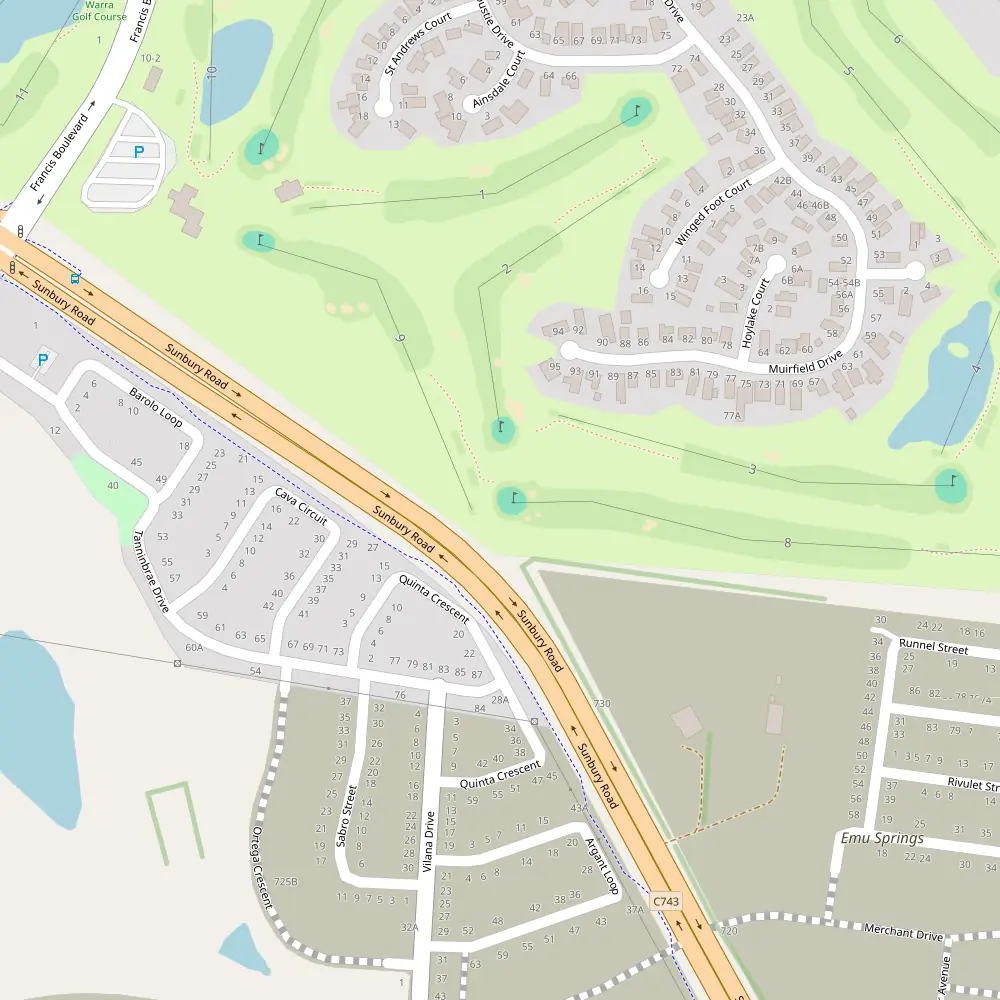
Location: 2 Francis Boulevard, Sunbury, VIC, Australia
Website: http://www.goonawarragolfclub.com.au
Phone: +61 3 9744 4344
Tee Boxes
| Tee | Yardage | Course Rating | Slope |
|---|---|---|---|
| Blue | 6003 | 69 | 119 |
| White | 5729 | 67 | 112 |
| Red | 5390 |
Hole by Hole Breakdown
Goonawarra Golf Club Hole 1 – Par 4
Index: 3
Lengths: Blue: 318 yards, White: 309 yards, Red: 317 yards
Hole 1, a Par 4, kicks off the game with a bit of cheek. It’s a deceptive brute, with a stroke index of 3, demanding a sharp strategy right out of the gate. At 291m (318y) from the blue tees, 283m (309y) from the white, and 290m (317y) from the red, it might seem straightforward, but don’t be fooled. This opener requires a precise tee shot to set up a favourable approach. There’s no flashy water to worry about or trees that crowd your play, but the subtle undulations of the fairway can surprise the unprepared. The green is equally crafty, gently sloping and well-guarded by bunkers that attract golf balls like a magnet. It’s a solid test of skill and a clear signal that you’ll need to keep your wits about you.
Goonawarra Golf Club Hole 2 – Par 4

Index: 2
Lengths: Blue: 340 yards, White: 330 yards, Red: 324 yards
Ah, Hole 2, she’s a sly one and definitely not for the faint-hearted, ranking a solid stroke index of 2. Stretching out to 311m (340y) from the blue tees, 302m (330y) from the white, and a slightly more forgiving 296m (324y) from the red, this par 4 demands respect and strategy. While it might seem straightforward, the lack of specific landmarks or tricky water hazards is precisely what makes this hole a silent challenger. The key here is precision; a well-placed drive could set you up for a smooth approach, but any lapse in concentration can turn a potential birdie into a scramble for bogey. It’s all about playing it smart and keeping your wits about you. So, choose your club wisely, keep your head down, and maybe, just maybe, you’ll walk away with par.
Goonawarra Golf Club Hole 3 – Par 3

Index: 12
Lengths: Blue: 365 yards, White: 350 yards, Red: 343 yards
Hole 3 might look like a straightforward Par 3 on the card, but don’t let its modest Stroke Index of 12 fool you into complacency. Stretching out to a respectable 334m (365y) from the blue tees, with slightly shorter options at 320m (350y) and 314m (343y) from the white and reds respectively, it offers a test of precision off the tee. There are no headline-grabbing features like cavernous bunkers or sly water hazards; it’s just you, the tee box, and the green. The real challenge lies in mastering the subtle undulations of the green, which can turn a good-looking approach into a slick, testy putt in a heartbeat. It’s the kind of hole that might not make the highlight reel, but can quietly make or break a round. Keep your wits about you, and a steady hand with the putter could see you walking away with a grin.
Goonawarra Golf Club Hole 4 – Par 4

Index: 1
Lengths: Blue: 153 yards, White: 145 yards, Red: 135 yards
Hole 4 at our course is a true test of skill, holding the title of stroke index 1 and requiring a sharp strategy to come out on top. Stretching over 140m (153 yards) from the blue tees, 133m (145 yards) from the whites, and a slightly less daunting 123m (135 yards) from the reds, this par 4 doesn’t mess around. Devoid of the usual suspects like bunkers or water hazards, the challenge here lies in the undulating greens and the narrow fairway that demands precision off the tee. It’s a hole where power takes a back seat to precision—overdo it and you’ll be playing from the rough, underplay it and the green remains an elusive target. This hole might not boast scenic distractions, but it compensates with a pure, unadulterated golfing challenge that can make or break your round.
Goonawarra Golf Club Hole 5 – Par 3

Index: 8
Lengths: Blue: 406 yards, White: 397 yards, Red: 366 yards
Ah, Hole 5, a cheeky Par 3 that’s more deceptive than it first appears. Stretching out to 371m (406y) from the blue tees, 363m (397y) from the whites, and a slightly more forgiving 335m (366y) from the reds, this hole is a bit of a test. With a stroke index of 8, don’t be fooled into thinking it’s a walk in the park. The real challenge here is the subtle undulations of the green, which can turn a confident birdie putt into a scrambling par save quicker than you can say “fore.” There’s no flashy water or treacherous bunkers to distract you, just the pure challenge of distance and precision. A solid tee shot following the right line is the secret to conquering this hole. So, choose your club wisely, aim true, and maybe, just maybe, you’ll walk off with a grin.
Goonawarra Golf Club Hole 6 – Par 4
Index: 14
Lengths: Blue: 479 yards, White: 473 yards, Red: 443 yards
As you step up to the tee on the sixth, you’re looking down the barrel of a 438m (479y) challenge for the blue tees, slightly easing off to 433m (473y) from the whites, and a more forgiving 405m (443y) from the reds. With a stroke index of 14, this par 4 might seem like a breather, but don’t be fooled—precision is key. The fairway is generous enough, but it’s the approach that demands your attention. No significant doglegs or daunting water hazards here, but managing your tee shot to avoid a dance with the rough is crucial for setting up a clear second shot. Ideal for those looking to recover from a tough front five, or to maintain momentum, this hole offers a strategic play that balances risk with reward. Keep it straight, keep it smart, and you might just walk away with a satisfying par—or better.
Goonawarra Golf Club Hole 7 – Par 3

Index: 13
Lengths: Blue: 185 yards, White: 178 yards, Red: 161 yards
Ah, Hole 7, a cheeky Par 3 that might look straightforward at first glance, but don’t be fooled. Measuring up at 169m (185y) from the Blue, 163m (178y) from the White, and a slightly more forgiving 147m (161y) from the Red, this hole offers a test of precision rather than power. With a stroke index of 13, it’s not the toughest on the course, but it’s no walk in the park either. The key here is all about the tee shot; get that right, and you’re golden. There aren’t any standout hazards to wrestle with, but the subtle undulations of the green can make or break your par dreams. It’s one of those holes where a bit of local knowledge goes a long way—knowing where to place your shot on the green can mean the difference between a satisfying par or a frustrating bogey. So, take a moment, choose your club wisely, and maybe, just maybe, you’ll walk off with a birdie to brag about.
Goonawarra Golf Club Hole 8 – Par 5
Index: 6
Lengths: Blue: 486 yards, White: 480 yards, Red: 410 yards
Ah, Hole 8, she’s a deceptive beauty, stretching out to a comfortable 445m (486y) from the blue tees, slightly less from the white at 439m (480y), and a more forgiving 375m (410y) from the red. With a par 5 and a stroke index of 6, you’d reckon it’s a chance to recover, but don’t let the lack of dramatic features fool you. This hole demands a strategic mind with its subtly challenging layout. The fairway is generous enough, but placement is key to set up a clear shot for the green, which is more elusive than it appears. The green itself? Well, it’s as welcoming as a cool breeze on a hot day, but it can be slippery as an eel if you don’t approach it right. In sum, Hole 8 offers a breather on the scorecard but keeps you on your toes with its understated test of skill.
Goonawarra Golf Club Hole 9 – Par 4

Index: 15
Lengths: Blue: 321 yards, White: 291 yards, Red: 278 yards
Hole 9 at our course might not have the frills and thrills of others, but it’s a tidy little package that offers a bit of respite with a par 4 and a stroke index of 15. Stretching out to 294m (321y) from the blue tees, 266m (291y) from the white, and 254m (278y) from the red, this hole lets you catch your breath before the turn. There’s no significant trouble to navigate, just a straightforward fairway and a green that rewards a well-placed approach. It’s the sort of hole where strategy trumps strength, and a bit of finesse can set you up for a satisfying par as you round out the front nine. Don’t get too cosy though; it’s a breather, but underestimate it, and it’ll pinch your score like a cheeky crab.
Goonawarra Golf Club Hole 10 – Par 3

Index: 7
Lengths: Blue: 153 yards, White: 145 yards, Red: 111 yards
As you step up to the tee on the 10th, you’re faced with a deceptively challenging Par 3, stretching 140m (153y) from the blues, 133m (145y) from the whites, and a more forgiving 101m (111y) from the reds. Don’t let the absence of explicit hazards lull you into complacency; this hole’s got a stroke index of 7, hinting at the subtle tests it poses. The green, well-guarded by its subtle contours rather than sand or water, demands precision with your short irons. Misjudge your swing, and you’ll find yourself grasping for your putter, hoping to salvage par. It’s a hole that doesn’t shout but definitely bites, making for a tactical challenge that can make or break the back nine. Remember, it’s not just about power here, but finesse. Choose your club wisely, take a breath, and trust your swing.
Goonawarra Golf Club Hole 11 – Par 4

Index: 10
Lengths: Blue: 347 yards, White: 330 yards, Red: 305 yards
Ah, Hole 11, a cheeky Par 4, where strategy is your best mate. With a stroke index of 10, it’s neither the toughest test on the course nor a walk in the park. From the tee, the blue markers sit at a tidy 317m (347y), white at 302m (330y), and red at a more approachable 279m (305y). This hole lacks the dramatics of water hazards or dense woodlands, focusing instead on a straightforward game where placement and wind reading can make or break your score. The fairway is generous enough, but don’t be lulled into complacency—those who underestimate the subtle undulations and the strategic bunker placements might find themselves grappling for par. The green, receptive yet sloping, rewards those who approach with precision. A solid hole, where keeping it simple and playing smart often leads to a satisfying scorecard.
Goonawarra Golf Club Hole 12 – Par 5
Index: 9
Lengths: Blue: 483 yards, White: 460 yards, Red: 440 yards
Hole 12, a Par 5 stretching a robust 442m (483y) from the blue tees, offers a deceptive challenge, ranked a solid 9 on the stroke index. From the tee, the hole seems more inviting than a cold pint on a hot day, with 421m (460y) from the whites and a slightly more approachable 402m (440y) from the reds. Don’t let the lack of obvious hazards fool you; this hole isn’t as straightforward as it appears. The key here is all in the approach. With a subtly undulating fairway, the play is about positioning rather than power. Overshoot your drive, and you might find yourself wrestling with uneven lies that can turn a potential birdie into a scrappy bogey. The green, well-guarded by nature’s own contours rather than sand or water, requires a well-thought shot to secure par. It’s a tester, but get it right, and you’ll be recounting that eagle attempt to your mates back at the clubhouse.
Goonawarra Golf Club Hole 13 – Par 4
Index: 16
Lengths: Blue: 292 yards, White: 285 yards, Red: 251 yards
Ah, Hole 13, a cheeky little par 4 that might fool you into thinking it’s a breather with its stroke index of 16. Measuring up at 267m (292y) from the blue, 261m (285y) from the white, and a more forgiving 230m (251y) from the red, it’s the kind of hole that seems straightforward but often isn’t. There aren’t any flashy points of interest to speak of, no looming bunkers or twisty water hazards, but don’t let that simplicity deceive you. The true challenge lies in mastering the subtle undulations of the fairway and the slick green that can turn a good round into a head-scratcher. It’s a strategic puzzle, ideal for those looking to recover from earlier missteps or to keep a steady scorecard. So, pick your clubs wisely and maybe, just maybe, you’ll outsmart this sly little number.
Goonawarra Golf Club Hole 14 – Par 4
Index: 5
Lengths: Blue: 346 yards, White: 309 yards, Red: 297 yards
Ah, Hole 14, mates, she’s a sly one with her par 4, sneaking up as the fifth toughest on the card. Stretching a modest 316m (346y) from the blues, 283m (309y) from the whites, and a friendly 271m (297y) from the reds, you’d think she’s a walk in the park. But here’s the rub: the absence of major landmarks or tricky water hazards doesn’t mean she’s a breeze. The game here is all about placement and precision. Overconfidence on the tee might land you more trouble than a snag at a vegan barbie. With a breezy start, the fairway tightens as you approach the green, urging a bit of restraint and a good deal of strategy. Choose your clubs wisely, play the angles, and maybe, just maybe, you’ll walk off with a grin. Otherwise, it’s a tricky little dance to stay on par!
Goonawarra Golf Club Hole 15 – Par 5
Index: 18
Lengths: Blue: 448 yards, White: 429 yards, Red: 413 yards
Ah, Hole 15, she’s a bit of a breather at a Par 5, the easiest on the card with a Stroke Index of 18. Stretching out at 410m (448y) from the blue tees, 392m (429y) from the white, and a more forgiving 378m (413y) from the red, it’s here the long hitters can really let loose. No pesky bunkers to spoil the party, nor water hazards to make your ball swim. It’s straightforward enough, but don’t let that fool you into complacency. The battle here is against the urge to overplay your hand. With a clear fairway, the approach is all about positioning for a birdie chance. Play it smart, and you might just walk away with a grin as wide as a fairway.
Goonawarra Golf Club Hole 16 – Par 3
Index: 17
Lengths: Blue: 159 yards, White: 119 yards, Red: 117 yards
Ah, the sweet sixteenth! A par 3 that’s more of a breather than a brute, with a stroke index of 17 suggesting fewer headaches here. From the blue tees, you’re looking at a cozy 145m (159y) shot, dropping down to a manageable 109m (119y) from the whites and a mere 107m (117y) from the reds. There’s no flashy water hazards or sneaky bunkers to wrestle with, just a straightforward pitch to a green that’s as welcoming as a cold pint on a hot day. It’s the kind of hole where strategy isn’t about navigating through peril, but rather choosing the right club to ensure your ball dances close to the pin. Perfect for settling nerves before the final stretch, or for making a slight recovery if the day’s been a bit rough around the edges!
Goonawarra Golf Club Hole 17 – Par 4

Index: 11
Lengths: Blue: 334 yards, White: 326 yards, Red: 319 yards
As you step up to the tee on the 17th, a cheeky par 4 stretching out to 305m (334y) from the blues, you might feel relief wash over you. With a stroke index of 11, this hole offers a bit of respite after some of the course’s more gruelling challenges. The layout is straightforward, without the frills of menacing bunkers or sly water hazards. Instead, it’s all about placement and poise. The fairway is generous enough to forgive a less-than-perfect drive, but those looking to make birdie will need to be precise with their approach. Aim to land your second shot near the pin to set up a satisfying putt. It’s a breather, alright, but don’t let the simplicity fool you — overconfidence here can still spoil a good scorecard.
Goonawarra Golf Club Hole 18 – Par 4

Index: 4
Lengths: Blue: 388 yards, White: 373 yards, Red: 360 yards
As you step up to the tee on the 18th, a hearty par 4 stretching 355m (388y) from the blues, you’re not just concluding your round; you’re capping off a battle. Rated with a stroke index of 4, this hole is no gentle handshake goodbye. With 341m (373y) from the whites and 329m (360y) from the reds, each drive demands precision, steering clear of the usual suspects—strategic bunkers and subtle undulations that test even the steadiest hands. There’s no flashy water hazard or towering pines, just the raw challenge of golf in its purest form. It’s a fitting finale, requiring a blend of power and finesse, where your approach to the well-guarded green could mean the difference between a story of triumph or a humble pie at the club’s 19th hole. So choose your weapon wisely and swing with the confidence of a champion. This hole doesn’t just test your golf; it reveals your grit.
Course Stats Summary
- Holes: 18
- Total Par: 70
- Longest Hole: 486 yards
- Shortest Hole: 153 yards