


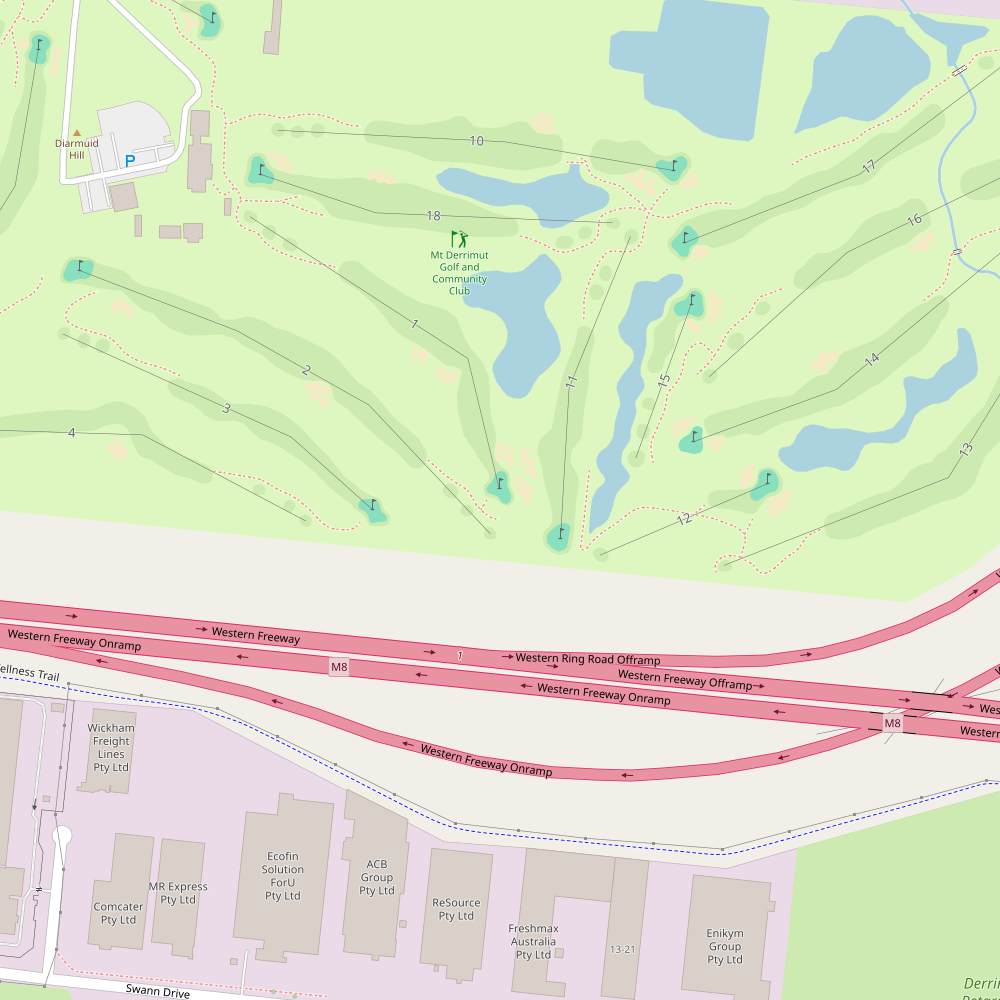
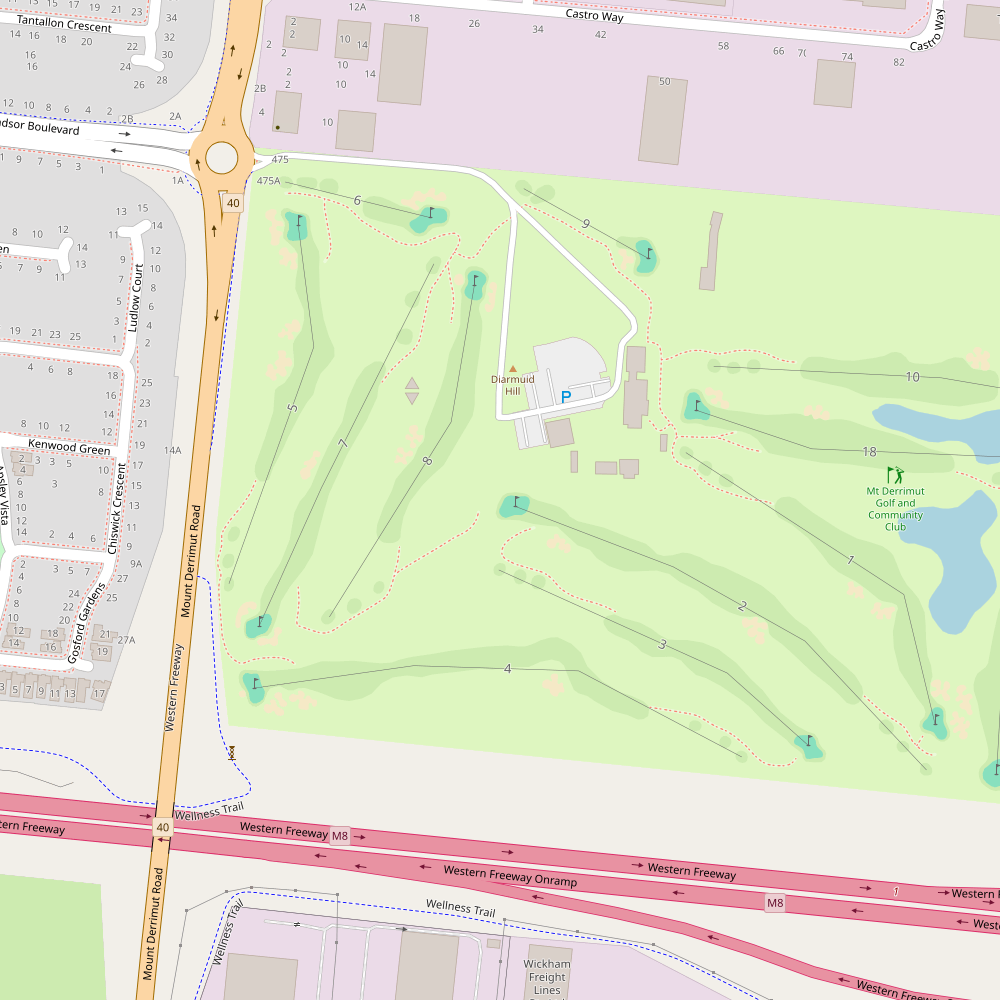
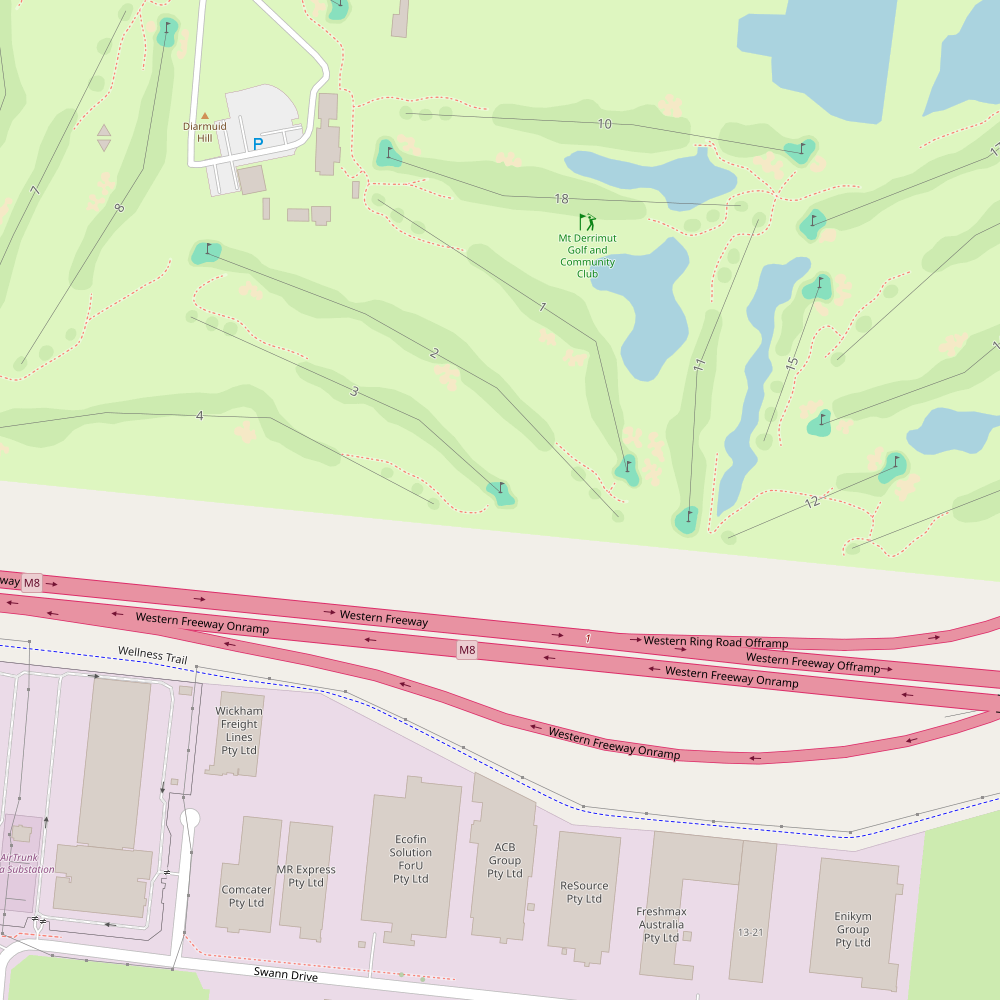
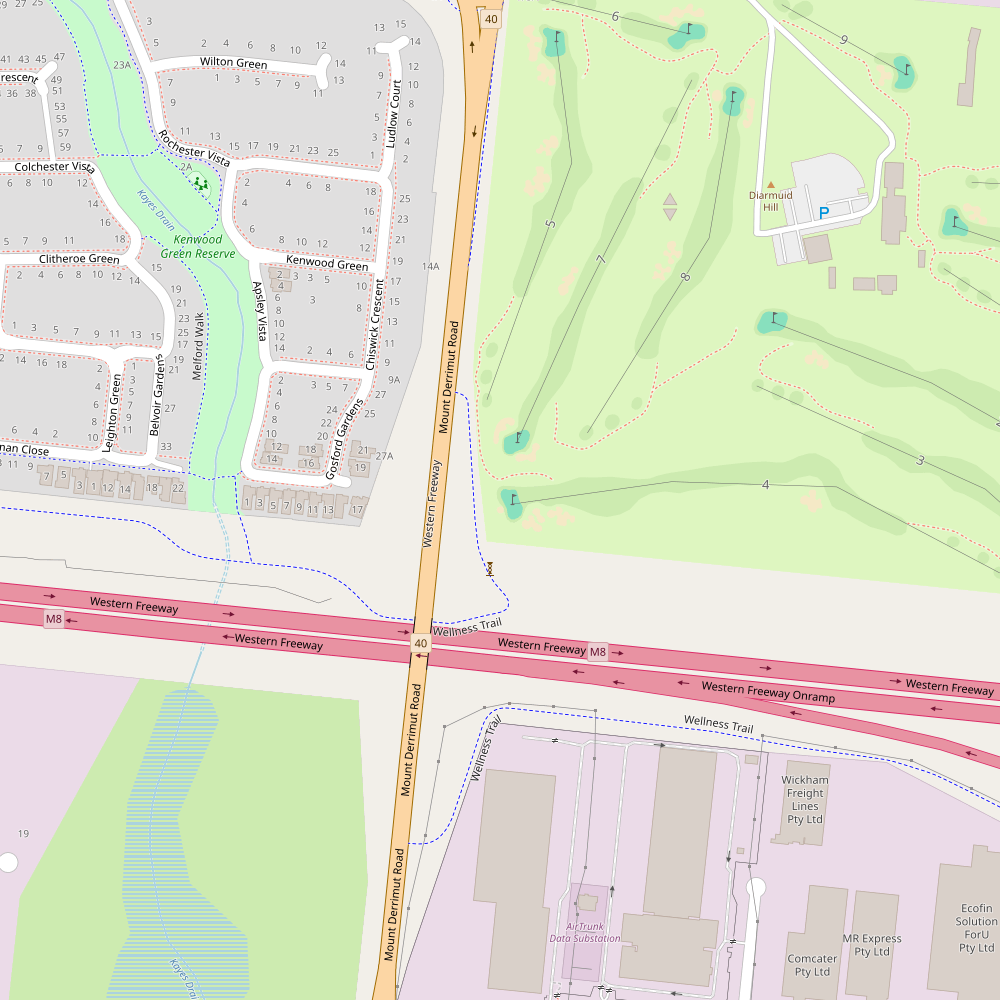
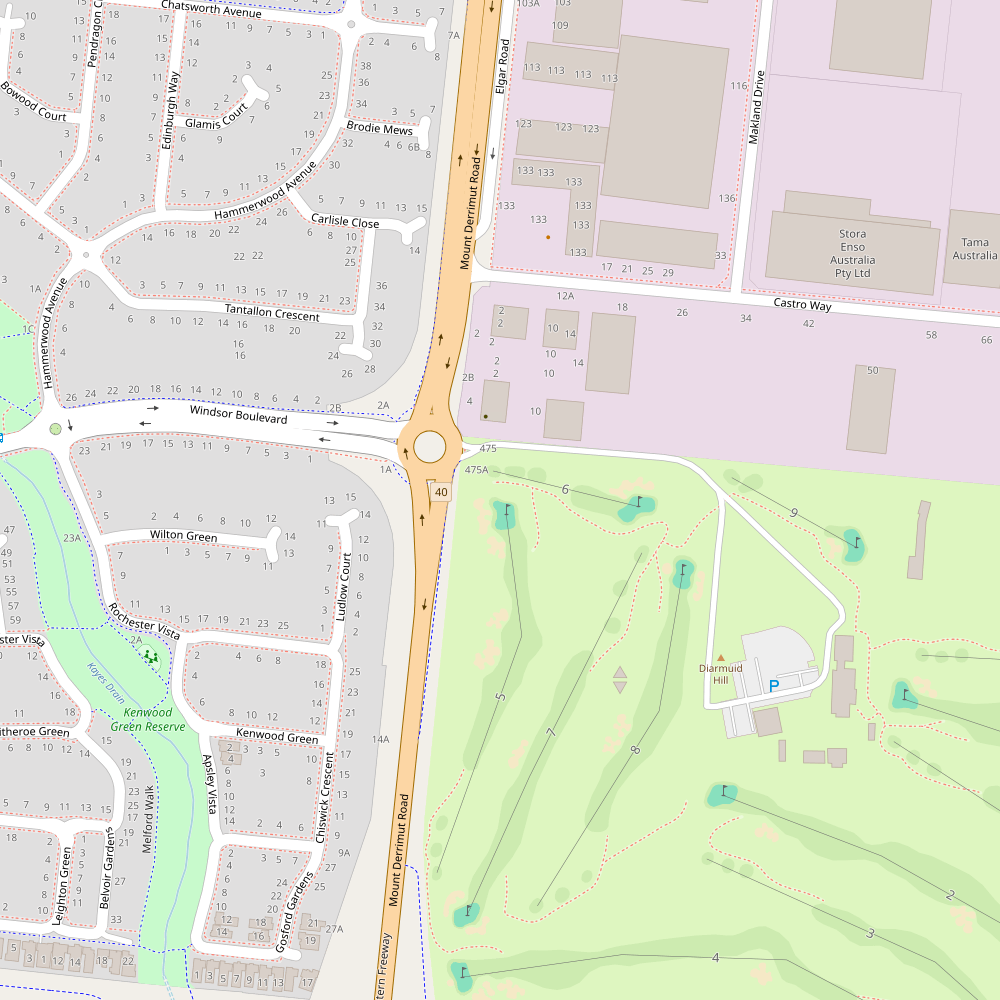
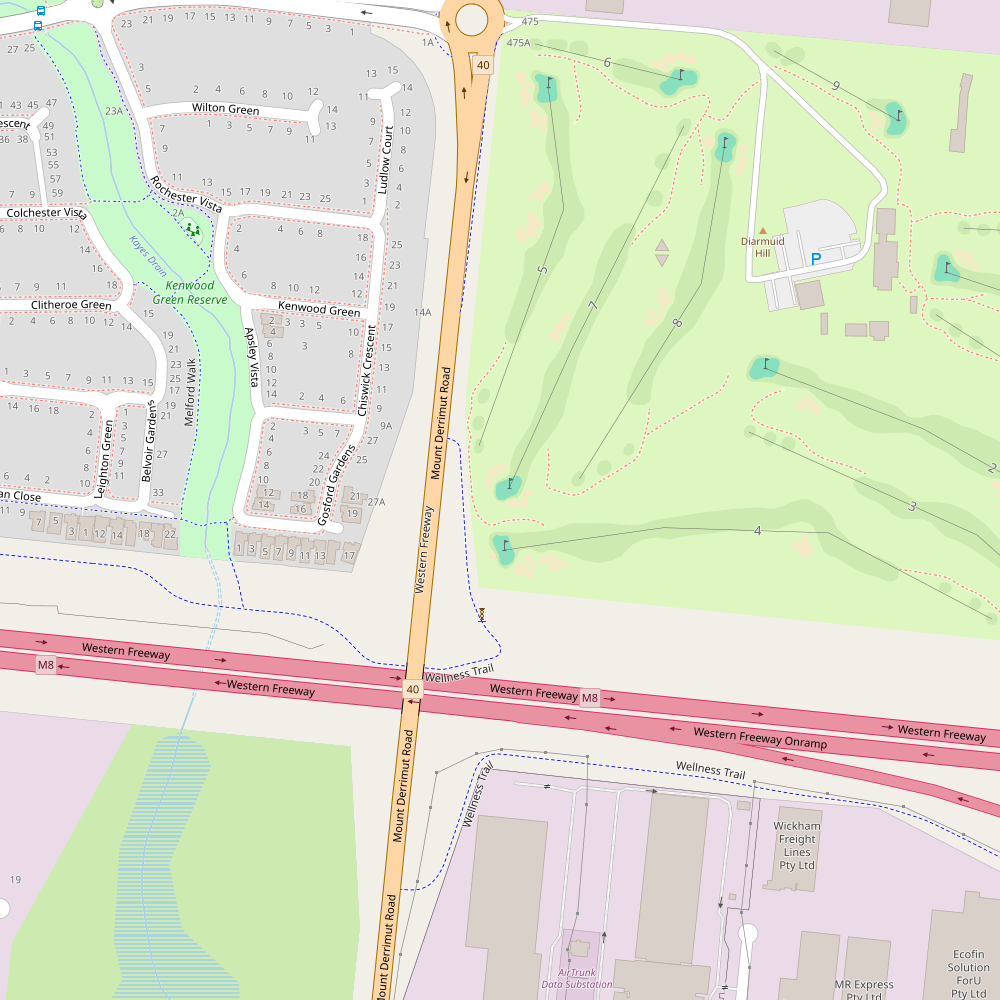
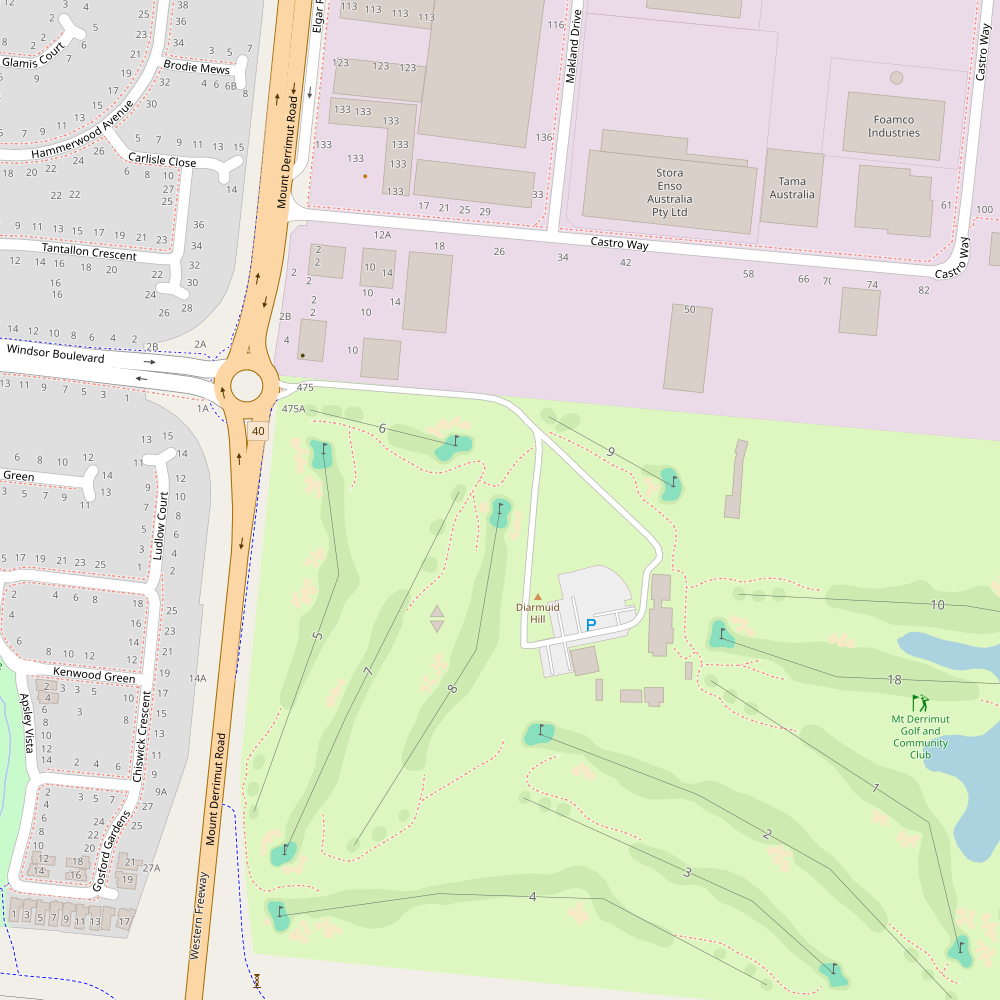
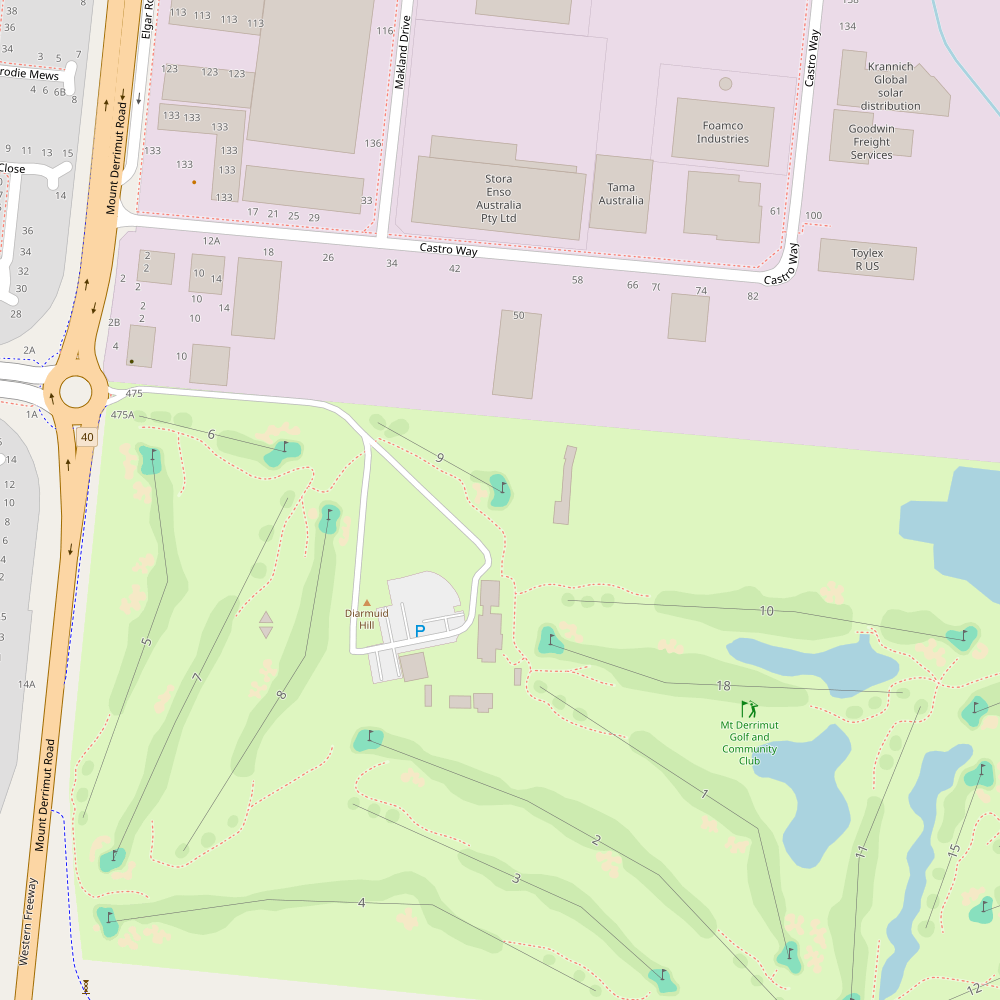
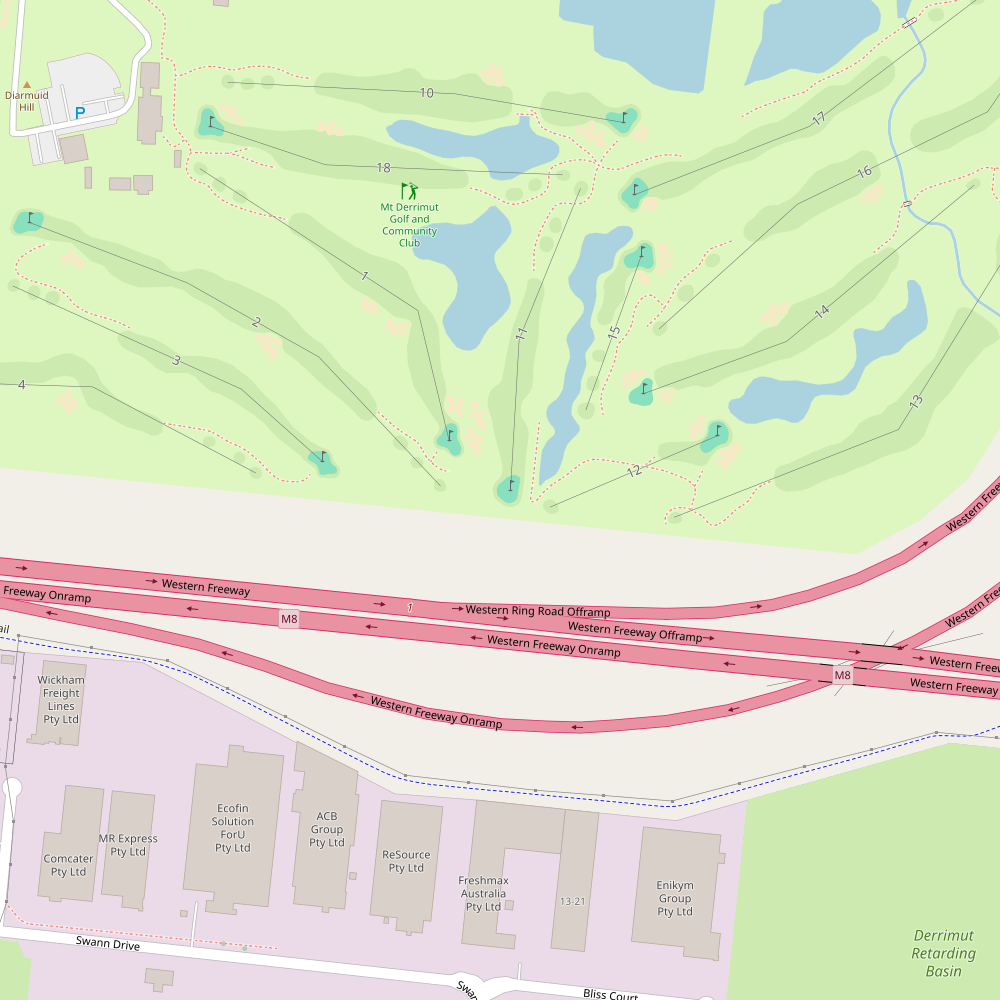
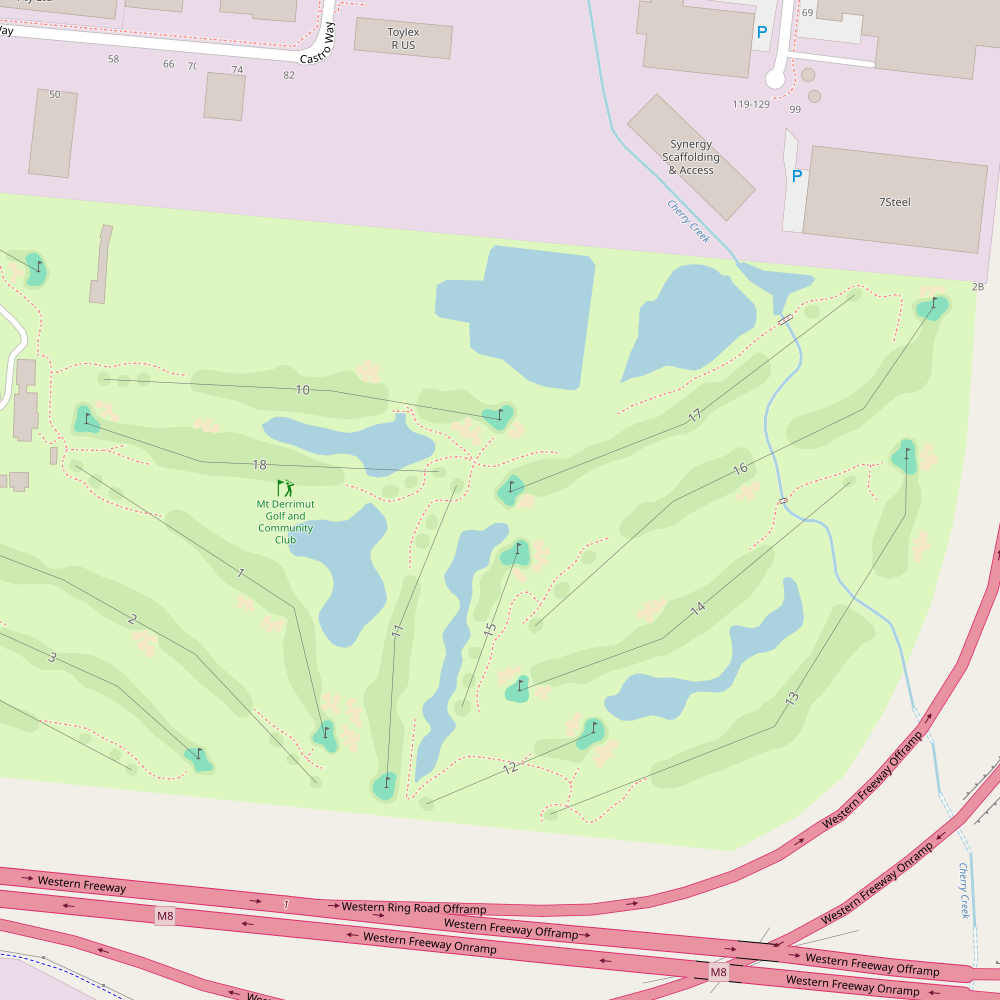
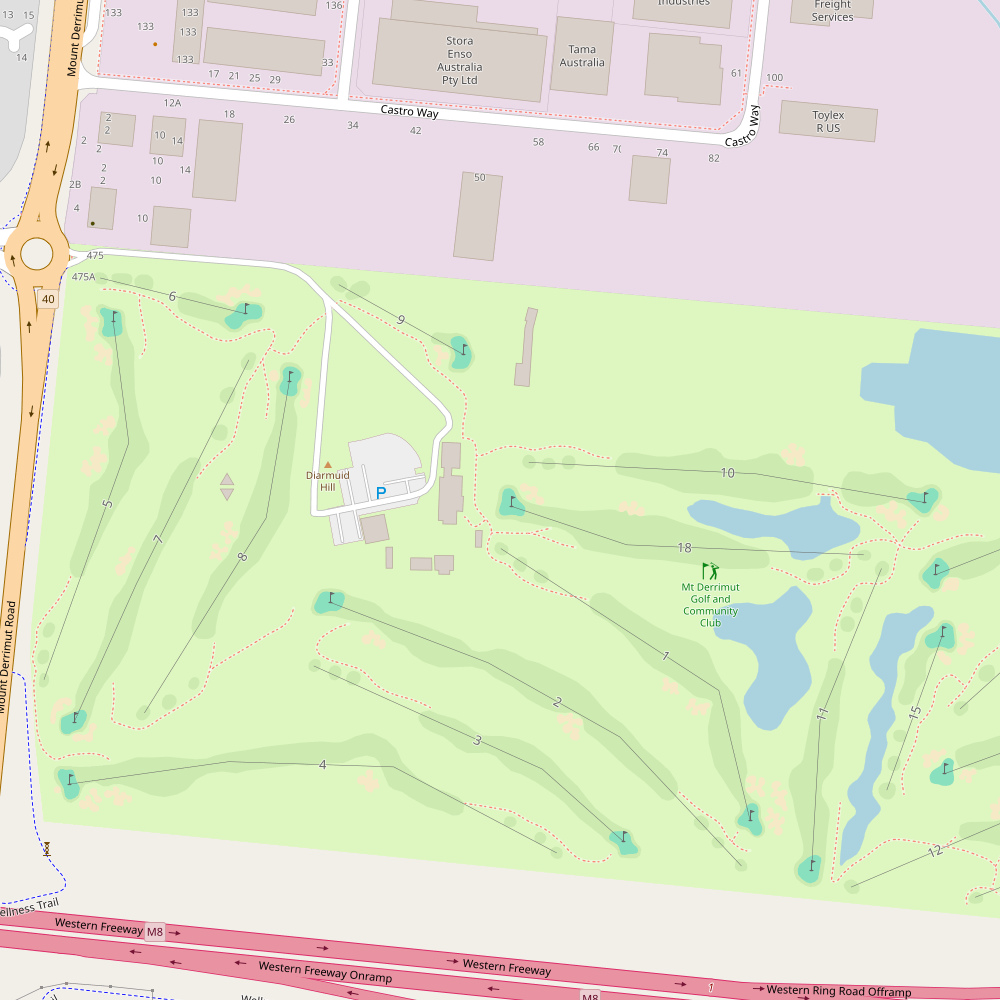
Tucked away just a stone’s throw (or a solid 7-iron) from Melbourne CBD, about a 30-minute drive, sits the charming Mt Derrimut Golf Course. Nestled in scenic surrounds, this 18-hole gem offers a mix of challenge and beauty, with tees coloured like a packet of Skittles – Blue, White, Green, Red, and Yellow.
Kicking off with the first tee, you’re looking at a 372m (407y) drive from the blue tees on Hole 1, a par 4 that’s deceptively tough. With a stroke index of 3, you might think it’s a piece of cake, but don’t be fooled. It’s like trying to sneak a sunrise past a rooster – tougher than it looks. The fairway rolls and dips more than a kangaroo on a trampoline, so keep your wits about you and your driver in check. Moving on to Hole 2, stretch those legs for a 475m (519y) par 5 that could be a real scorecard decorator if you play your cards right. With a welcoming stroke index of 12, it’s like a friendly nod from across the bar – inviting but not without its challenges. The fairway here plays like a subtle chess game; position your tee shot well, and you’re setting up for a potential eagle or an easy birdie. Don’t let the calm look of Hole 3 fool you. This 343m (375y) par 4 could be a sneaky devil with its wide-open fairway and craftily contoured green. It’s all about the approach here. Nail that, and you’ll be grinning like a shot fox.
From doglegs that could tie a kangaroo in knots, to tree-lined fairways that are prettier than a sunrise over Uluru, Mt Derrimut offers a strategic, scenic, and sometimes demanding round of golf. Whether you’re a seasoned pro or a keen weekend hacker, this course has a bit of something for everyone. So, grab your clubs, call up your mates, and head down to Mt Derrimut. It’s fair dinkum one of the best rounds you’ll have near Melbourne!
Location: 475 Mt Derrimut Road, Mt Derrimut, VIC, Australia
Website: http://www.sunshinegolfclub.com.au/
Phone: 03-9363-1691 Pro: 03-9363-2639
Tee Boxes
| Tee | Yardage | Course Rating | Slope |
|---|---|---|---|
| Blue | 6204 | 73 | 127 |
| White | 5746 | 70 | 124 |
Hole by Hole Breakdown
Sunshine Golf Club Hole 1 – Par 4
Index: 3
Lengths: Blue: 372 metres, White: 352 metres Red: 328 metres
Ah, Hole 1 at our fine course—a straightforward Par 4 to ease you into the game, but don’t let its apparent simplicity fool you. With a Stroke Index of 3, it’s tougher than it looks. From the blue tees, you’re teeing off at 372 metres (407 yards), and from the red, a slightly more forgiving 328 metres (359 yards). The white tees set you back 352 metres (385 yards), offering a decent challenge without the extra stretch. Now, while there aren’t any flashy water hazards or sneaky bunkers to speak of, the real test here lies in mastering the subtle undulations of the fairway and finding the right angle on your approach. It’s all about placement and strategy—get too cocky with your driver and you might just find yourself wrestling with an awkward lie. So, play it smart, keep your cool, and this hole can be a solid start to a memorable round. Just the right blend of challenge and opportunity to get your game warmed up.
Sunshine Golf Club Hole 2 – Par 5
Index: 12
Lengths: Blue: 475 metres, White: 445 metres Red: 421 metres
Ah, Hole 2, a par 5 stretching a good 475m (519y) from the blue tees, 445m (487y) from the whites, and a slightly more forgiving 421m (460y) from the reds. This hole is a bit of a sleeper, with a Stroke Index of 12 suggesting a not-too-daunting challenge, but don’t let that fool you into complacency. It’s the kind of hole that subtly tests your strategic thinking, especially on the tee shot. Without any standout natural features to distract, it’s all about positioning for that second shot. The fairway’s gentle undulations can deceive the eye, making shot placement key to setting up a potential eagle or a comfortable birdie. Ideal for players who relish a tactical battle without the theatrics of dramatic hazards or severe doglegs, Hole 2 offers a straightforward challenge where smart play is rewarded on the scorecard.
Sunshine Golf Club Hole 3 – Par 4
Index: 15
Lengths: Blue: 343 metres, White: 323 metres Red: 305 metres
Hole 3 might look like a bit of a breather on the scorecard, but it’s got its quirks. At a relatively relaxed par 4, with distances set at 343m (375y) from the blue, 323m (353y) from the white, and 305m (334y) from the red, it’s not the length that’ll test you here. With a stroke index of 15, it’s one of the easier challenges on the course, but don’t let that fool you into complacency. The lack of notable features means the fairway is wide open, but it’s the approach that can make or break your par. The green is subtly contoured, demanding precise iron play. It’s less about brute force and more about strategic mastery. A solid tee shot followed by a sharp approach could make this hole a sneaky favourite or a quiet nightmare, depending on how well you read the subtle undulations of the green.
Sunshine Golf Club Hole 4 – Par 5
Index: 13
Lengths: Blue: 494 metres, White: 473 metres Red: 439 metres
Hole 4, a generous Par 5 stretching 494m (540y) from the blue tees, offers a bit of a breather with a stroke index of 13. From the white markers, it measures a tad shorter at 473m (517y), while the red tees bring it down to a more approachable 439m (480y). The layout here is straightforward with no tricks up its sleeve. Without any notable points of interest like menacing bunkers or deceptive water hazards, it’s a hole where the big hitters can really let fly off the tee. The fairway is welcoming, and if your driver’s behaving, you’re set up well for a friendly approach. Ideal for those looking to recover from a tough start or simply to keep a good round going, Hole 4 is more about power and placement than peril. Play it smart, and you might just bag yourself an eagle or a comfortable birdie.
Sunshine Golf Club Hole 5 – Par 4
Index: 4
Lengths: Blue: 358 metres, White: 338 metres Red: 313 metres
Hole 5 at our course is a stout test of your golfing prowess. With a par of 4 and a stroke index of 4, this one is no walk in the park, mate. From the blue tees, you’re launching your drive 358 metres (391 yards), which is a hefty belt even for the big hitters. The white tees offer a slightly more forgiving 338 metres (369 yards), while the reds shorten the ordeal to 313 metres (342 yards). What makes this hole a real chin-scratcher is the absence of any flashy distractions. No ponds to plop into, no trees to tangle with, just you and the fairway, making it a pure golfer’s challenge. The key here is all about placement and power – nail those, and you might just walk off with a grin. Otherwise, it’s a brute that’ll test every club in your bag and maybe your patience too!
Sunshine Golf Club Hole 6 – Par 3

Index: 16
Lengths: Blue: 142 metres, White: 125 metres Red: 105 metres
Ah, Hole 6, a cheeky Par 3 that offers a bit of respite with a stroke index of 16, letting you catch your breath before the next challenge. From the tee, you’ve got your choices cut out for you: 142 metres (155 yards) from the Blue, a more forgiving 125 metres (137 yards) from the White, and a gentle 105 metres (115 yards) from the Red. This hole is straightforward with no real tricks up its sleeve—no bunkers lying in wait or sneaky water hazards to ruin your scorecard. It’s all about picking the right club and mastering the wind, which can often be the invisible opponent here. A well-placed tee shot can set you up for a satisfying par or even a birdie, making this hole feel like a brief holiday before the course bares its teeth again. So, take a moment, choose your club wisely, and enjoy the breather—Hole 6 is as honest as they come.
Sunshine Golf Club Hole 7 – Par 4
Index: 7
Lengths: Blue: 388 metres, White: 347 metres Red: 312 metres
Ah, Hole 7, a cheeky Par 4 that stretches out to 388 metres (424 yards) from the blue tees, a more forgiving 347 metres (379 yards) from the white, and a gentle 312 metres (341 yards) off the red. Now, don’t let the absence of traditional points of interest fool you; this hole is no walk in the park. With a stroke index of 7, it demands respect and a solid strategy. The key here is precision over power—overzealous drives might just find themselves flirting with the rough, making for a tricky approach. The fairway itself is quite straightforward, but the real test is in managing your approach shot to a green that’s more protected than a celebrity at a gala. This hole might not have the scenic distractions of others, but it’s got its own subtle charm that will test your mettle and maybe even your patience. So, choose your clubs wisely, aim your shots with care, and maybe, just maybe, you’ll walk away with par.
Sunshine Golf Club Hole 8 – Par 4
Index: 11
Lengths: Blue: 352 metres, White: 332 metres Red: 305 metres
Ah, Hole 8, a classic Par 4 that’s more about strategy than sheer force. Stretching out at 352 metres (385 yards) from the Blue tees, 332 metres (363 yards) from the White, and a more forgiving 305 metres (334 yards) from the Red, it’s a hole that invites a bit of cheeky play. With a Stroke Index of 11, it’s neither the toughest on the course nor a pushover. The absence of major hazards means the fairway is wide open for a clean, straight drive — but don’t let the tranquility fool you. Precision off the tee is key to setting up a favourable approach. You won’t find dramatic features here, but the subtle undulations of the green can trip up even the seasoned golfer. It’s a breather hole if played smartly, yet it can easily humble the overconfident. Ideal for a bit of banter among mates as you strategize your shots, making it a deceptive test of your golfing prowess.
Sunshine Golf Club Hole 9 – Par 3
Index: 18
Lengths: Blue: 138 metres, White: 127 metres Red: 117 metres
Ah, Hole 9, the cheeky closer of the front nine and what a breath of fresh air it is! With a par 3 that stretches 138 metres (151 yards) from the blues, 127 metres (139 yards) from the whites, and a slightly more forgiving 117 metres (128 yards) from the reds, it’s a straightforward test to wrap up the outward half. Don’t be fooled by its Stroke Index of 18, suggesting it’s the easiest on the course; this hole can be a sly fox in sheep’s clothing. There’s a beautiful simplicity here with no major drama from water hazards or bunkers, just the pure joy of a well-hit tee shot onto the green. It’s the kind of hole where you tighten your grip, take a deep breath, and take aim, hoping to finish the front nine on a high note. Perfect for a bit of a breather before the battles that lie on the back nine. So, gather your wits, choose your club wisely, and let it fly—this might just be where you snag that birdie you’ve been chasing.
Sunshine Golf Club Hole 10 – Par 4

Index: 2
Lengths: Blue: 378 metres, White: 358 metres Red: 340 metres
Ah, Hole 10, a true test of mettle for any golfer stepping onto its tee. With a par of 4 and a stroke index of 2, it’s clear this isn’t just any walk in the park. Stretching out to 378 metres (414 yards) from the blue tees, 358 metres (391 yards) from the white, and a still daunting 340 metres (372 yards) from the red, this hole demands precision right from the tee shot. Despite lacking any specific landmarks or eye-catching features, the challenge here lies in mastering the subtle undulations and strategic placement of hazards that aren’t immediately obvious but become all too clear as you play. The fairway might seem inviting, but it’s the approach that will test your true grit. Bring your A-game and think twice before you swing; this hole is a thinker’s paradise and could easily make or break your back nine.
Sunshine Golf Club Hole 11 – Par 4
Index: 17
Lengths: Blue: 298 metres, White: 258 metres Red: 237 metres
Ah, Hole 11, a cheeky little Par 4 that tends to be more of a breather than a brute, with a stroke index of 17. Stretching out at 298 metres (326 yards) from the blue tees, 258 metres (282 yards) from the white, and a pleasant 237 metres (259 yards) from the red, this one lets you shake off the serious for a moment. There’s no flashy water hazards or gnarly bunkers to wrestle with, just a straightforward fairway that invites you to really open up off the tee. The real game here is about placement; nail your drive, and you’re setting yourself up for a sweet approach shot that could very well see you jotting down a birdie. So take a moment, enjoy the scenery, and maybe let out that breath you’ve been holding since the front nine.
Sunshine Golf Club Hole 12 – Par 3
Index: 6
Lengths: Blue: 173 metres, White: 150 metres Red: 127 metres
Hole 12 at our course is a sneaky Par 3 that’ll test your precision more than your power. Stretching 173 metres (189 yards) from the blue tees, 150 metres (164 yards) from the white, and a more forgiving 127 metres (139 yards) from the red, this hole doesn’t flaunt any fancy frills like bunkers or water hazards. But don’t let its straightforward look fool you. With a stroke index of 6, it’s tougher than it appears. The real challenge lies in the subtle undulations of the green, which can turn a confident putt into a cautious second guess. This hole might not be the course’s show pony, but it’s definitely a dark horse that could shape your scorecard. So, choose your club wisely, aim true, and maybe you’ll walk away with a par—or even better.
Sunshine Golf Club Hole 13 – Par 5
Index: 8
Lengths: Blue: 518 metres, White: 481 metres Red: 443 metres
Hole 13 at our course is a par 5 that stretches out to challenge even the seasoned swinger. From the blue tees, it’s a solid 518m (567y) drive, with the white a tad friendlier at 481m (526y), and the red tees offering a slightly less daunting 443m (484y). This hole’s calling card? A capricious water hazard smack bang in the centre that demands respect and strategic thinking. It’s about as forgiving as a tax auditor and can make or break your score on this hole, ranked a tricky 8 on the stroke index. Long hitters might fancy their chances going over in two, but for most of us mere mortals, it’s a three-shot strategy to reach the green in regulation. Play it smart, and you might just walk away with a smile; get too cheeky, and it’s a watery rebuke that awaits. This hole is a true test of nerve and precision, so choose your clubs and your shots wisely.
Sunshine Golf Club Hole 14 – Par 4

Index: 9
Lengths: Blue: 378 metres, White: 358 metres Red: 336 metres
Hole 14 is a cheeky Par 4 that stretches its legs at 378 metres (414 yards) from the blue tees, 358 metres (391 yards) from the white, and a more forgiving 336 metres (367 yards) from the red. With a stroke index of 9, it’s neither a brute nor a breather, sitting snugly in the middle where strategy really comes into play. While the hole may lack dramatic points of interest like menacing bunkers or deceptive water hazards, its challenge lies in its straightforwardness—demanding precision and a clear-headed approach shot. The true test is in managing the tee shot to set up a clear angle for the green, avoiding any wayward drifts that could cost you a shot. Ideal for players who pride themselves on accuracy over power, this hole offers a refreshing purity of play that can either bolster your scorecard or give you a bit of a nudge back to reality.
Sunshine Golf Club Hole 15 – Par 3

Index: 5
Lengths: Blue: 158 metres, White: 131 metres Red: 105 metres
Ah, Hole 15, the short but challenging Par 3 that’s more deceptive than a hustler with a deck of cards. Stretching out at 158 metres (173 yards) from the blue tees, 131 metres (143 yards) from the white, and a more forgiving 105 metres (115 yards) from the red, this hole might seem like a walk in the park, but don’t let its modest length fool you. With a stroke index of 5, it ranks among the tougher challenges on the course. While there’s no flashy water hazards or dense forestry to wrestle with, the real test here lies in mastering the subtle undulations of the green, which can break hearts and bogeys alike. The lack of major landmarks or points of interest means your focus is solely on precision and the wind’s whim. It’s a true test of your short game finesse, where coming up short can feel like a long walk back to the clubhouse.
Sunshine Golf Club Hole 16 – Par 5
Index: 14
Lengths: Blue: 490 metres, White: 453 metres Red: 413 metres
Sit back and picture Hole 16, a Par 5 stunner stretching a solid 490m (536y) from the blue tees. It’s a bit more forgiving from the white at 453m (495y), and for those keen on a slightly gentler challenge, the red markers are set at 413m (452y). Now, don’t let the Stroke Index of 14 lull you into a false sense of security. The real game here is about precision, not just power. The heart of the hole features a deceptive water hazard, strategically placed to catch any overly ambitious second shots. It’s the kind of water feature that’s more a siren than a puddle, luring your balls to a watery grave if you’re not careful. This hole offers a sneaky test of strategy, with just enough challenge to keep you on your toes but still reward the bold. Best played with a bit of tactical nous and a whole lot of nerve, especially if you’re trying to make up ground or impress your mates with a risky flyer towards the green.
Sunshine Golf Club Hole 17 – Par 4
Index: 1
Lengths: Blue: 406 metres, White: 380 metres Red: 338 metres
Ah, Hole 17, mates, where the true test of your golf mettle shines through. Clocking in at a sturdy 406m (444y) from the blue tees, 380m (416y) from the white, and a somewhat gentler 338m (370y) from the red, this par 4 is not just another walk in the park. Ranked as the toughest on the course with a stroke index of 1, this hole demands precision and a bit of bravado. There’s no flashy water to spoil your socks or towering trees to swipe your pride, but don’t let the absence of these usual suspects fool you. The challenge here is all in the layout—a cunning arrangement that asks for a strategic mind and a firm hand with the driver. Whether it’s playing the angles or managing the subtle undulations, each shot is about finding the sweet balance between aggression and restraint. Get it right, and you’ll stride to the 18th with your chest puffed; get it wrong, and, well, better luck next round.
Sunshine Golf Club Hole 18 – Par 4
Index: 10
Lengths: Blue: 343 metres, White: 315 metres Red: 298 metres
As you step up to the tee of the 18th, a par 4 clocking in at 343 metres (375 yards) from the blues and a more manageable 315 metres (344 yards) from the whites, you’re greeted by a straightforward challenge to wrap up your round. With a stroke index of 10, this hole offers a decent test but won’t leave you pulling your hair out. The absence of typical distractions like bunkers or water hazards lets the natural contours of the fairway play the leading role. The red tees shorten the ordeal to 298 metres (326 yards), allowing a more aggressive approach for those looking to shave a stroke or two off their scorecard. This hole’s beauty lies in its simplicity, demanding clean, thoughtful shots rather than brute force, a fitting end to a day where strategy has been as crucial as swing.
Course Stats Summary
- Holes: 18
- Total Par: 72
- Longest Hole: 518 metres
- Shortest Hole: 138 metres


