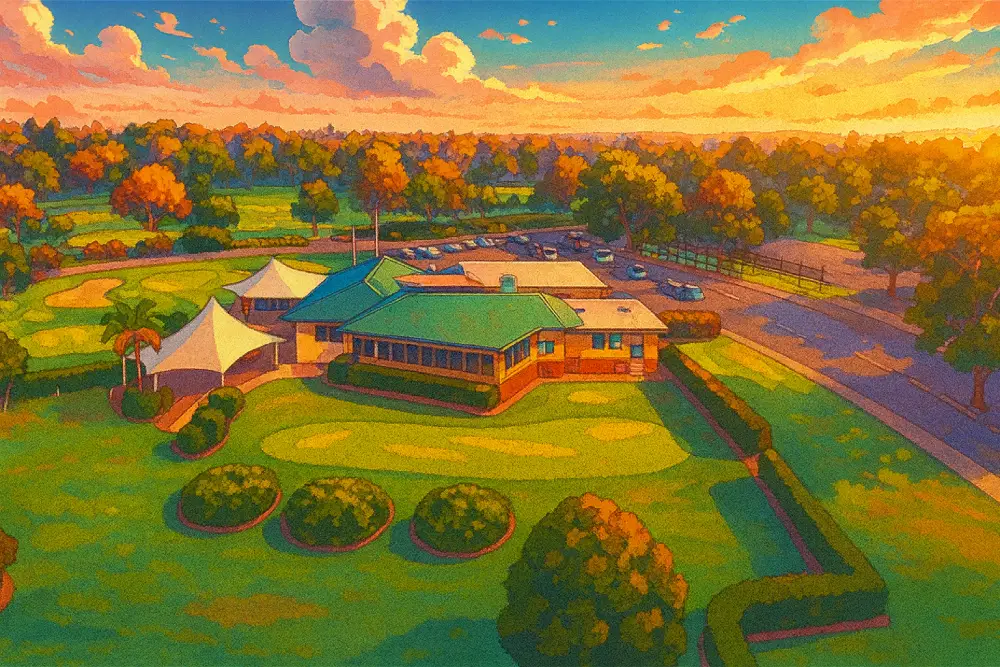
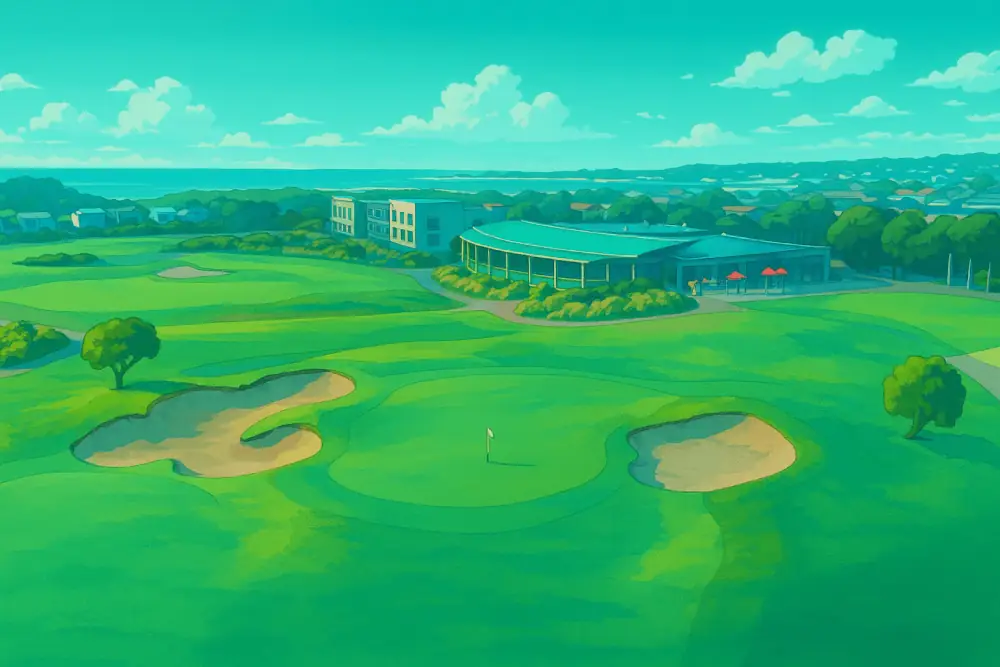
Tucked away on the Bellarine Peninsula with cracking coastal views to boot, Portarlington Golf Course is a real standout in the world of public tracks. It’s got 18 holes of scenic strategy, a variety of tee options—Black, Blue, Red, Yellow, and Orange—and a layout that’ll test both the confident hitters and the crafty thinkers.
You’ll find everything from wide-open par 5s like the 370m (404y) stretchers where you can let the big dog eat, to tight par 4s that need brains over brawn, and cheeky par 3s that look friendly until you’re staring down a double. Elevation changes sneak up on you, tree-lined fairways punish the lazy fades, and the water hazards love to collect anyone playing hero golf. Doglegs? Plenty—and they’re not messing around.
One standout is Hole 3—a par 4 that looks innocent on the card but plays like a magician’s trick. No bunkers, no splash zones, just subtle slopes that mess with your read and force you to earn every putt.
But here’s what really sets Portarlington apart: one of the best halfway house setups going around. Perfectly plonked at a thruway between multiple holes, you’ll pass it not once, not twice, but at least three times in your round. Coffee, cold drink, bacon sanga—whatever your vibe, it’s an elite pit stop that keeps the energy high and the banter flowing. It’s so good, you might even fake a lost ball just to swing past again.
Playing here feels like a proper day out: a mix of focus, fun, and flawless views. Whether you’re chasing a new PB, having a casual hit, or just in it for the post-round yarn, Portarlington delivers on every front.
So grab your sticks, grab your mates, and make a day of it—just don’t skip the halfway house. It’s basically part of the course.
Location: 130 Hood Road, Portarlington, VIC, Australia
Website: www.portarlingtongolf.com.au
Phone: +61 (03) 5259 2492
Tee Boxes
| Tee | Yardage | Course Rating | Slope |
|---|---|---|---|
| Black | 5940 | 71 | 126 |
| Blue | 5610 | 70 | 120 |
| Red | 5361 | 68 | 119 |
| Yellow | 5064 | 67 | 114 |
| Orange | 3415 | 59 | 95 |
Hole by Hole Breakdown
Portarlington Hole 1 – Par 4

Index: 16
Lengths: Black: 260 metres, Blue: 260 metres, Red: 250 metres, Yellow: 250 metres, Orange: 230 metres
Ah, the opener at our course is a straightforward Par 4, stretching a neat 260 metres (284 yards) from the Black and Blue tees, and slightly more forgiving from the Red and Yellow at 250 metres (273 yards), not to mention the Orange at a cozy 230 metres (251 yards). With a stroke index of 16, it’s a bit of a breather to ease you into the game, perfect for shaking off those first-tee jitters. There’s nothing too flashy here — no menacing water hazards or sneaky bunkers to ruin your day early. It’s all about a clean, confident start. Line up your tee shot, keep it straight, and you’re set for a potential birdie or a comfortable par. Just the kind of gentle handshake you want from a first hole, setting the tone without throwing any curveballs.
Portarlington Hole 2 – Par 3

Index: 7
Lengths: Black: 177 metres, Blue: 160 metres, Red: 159 metres, Yellow: 147 metres, Orange: 85 metres
Ah, Hole 2, a par-3 that might look tame but plays a bit tricker than you’d bet. Stretching from 177 metres (194 yards) on the back tees down to a cosy 85 metres (93 yards) from the fronts, this hole doesn’t mess around with distractions like water hazards or doglegs. It’s a straight shot, but don’t let that fool you. With a stroke index of 7, it demands precision, or you’ll be dancing around more than a kangaroo on a hotplate trying to save par. The green is guarded tighter than a vault, and depending on the pin position, club selection is crucial. Too short, and you’re chipping uphill; overshoot it and you might as well wave goodbye to a neat scorecard. It’s one of those holes where a well-thought-out tee shot sets the tone for a solid round, so choose your club wisely and maybe, just maybe, you’ll walk off with a birdie to brag about.
Portarlington Hole 3 – Par 4

Index: 4
Lengths: Black: 367 metres, Blue: 357 metres, Red: 355 metres, Yellow: 352 metres, Orange: 220 metres
Hole 3 at the club is a sly fox, mates—a Par 4 that masquerades as straightforward but demands a sharp strategy. With a stroke index of 4, it’s no walk in the park. Stretching out at 367m (401y) from the black tees down to a more approachable 220m (241y) from the oranges, this hole plays a tight game. The absence of traditional hazards might lull you into a false sense of security, but it’s the subtle undulations and the strategic placement of the fairway that’ll test your decision-making. Whether you’re smashing a driver from the tee or playing it safe with an iron, your approach to the green requires precision—overclub and you’re flirting with a tricky recovery. It’s a hole where the smart play is rewarded, and the reckless are left scratching their heads. Not one for the highlight reel, perhaps, but a solid par here feels like a small victory.
Portarlington Hole 4 – Par 4

Index: 5
Lengths: Black: 355 metres, Blue: 341 metres, Red: 327 metres, Yellow: 321 metres, Orange: 230 metres
Ah, Hole 4, mate, she’s a sly one. Stretching out at 355m (388y) from the black tees right down to a more manageable 230m (251y) from the oranges, this par 4 doesn’t mess about. With a stroke index of 5, it’s one of the tougher nuts to crack on the front nine. There’s not a lot of flashy distractions here—no water hazards waving at you or bunkers flirting with disaster. Instead, it’s all about the purity of the game: a straightforward fairway that demands respect and a strategic approach. Choose your club wisely for the tee shot; power is good but precision? That’s gold. It’s the kind of hole that might not make the postcard, but it’ll define your round, no doubt about it. Whether you’re swinging from the blacks or sizing up from the reds at 327m (358y), Hole 4 keeps it real and keeps you honest.
Portarlington Hole 5 – Par 3

Index: 12
Lengths: Black: 165 metres, Blue: 152 metres, Red: 104 metres, Yellow: 99 metres, Orange: 90 metres
Ah, Hole 5, a tidy Par 3 that might look like a bit of a breather on the card, but don’t let that fool you. Stretching out at 165 metres (180 yards) from the black tees, it drops down to a more manageable 90 metres (98 yards) from the oranges, making it accessible for golfers swinging through all sorts of handicaps. With a stroke index of 12, it’s middle of the pack in terms of challenge, but don’t get too cosy. There aren’t any flashy water hazards or sneaky doglegs here; instead, it’s the straightforward layout that lures you into a false sense of security. Choosing the right club and mastering the wind can mean the difference between a satisfying birdie and a bogey that’ll have you buying the next round. So, take a moment, judge your swing, and let fly—this hole might just be the dark horse of your scorecard.
Portarlington Hole 6 – Par 5

Index: 9
Lengths: Black: 490 metres, Blue: 467 metres, Red: 376 metres, Yellow: 373 metres, Orange: 310 metres
Ah, Hole 6, a lengthy Par 5 that stretches a solid 490 metres (536 yards) from the black tees, stepping down to a more manageable 310 metres (339 yards) from the orange. With a Stroke Index of 9, it’s neither the course’s toughest test nor a walk in the park. This hole is all about strategy and placement. The lack of notable distractions like bunkers or water hazards means it’s a clear run to the green if you’ve got the power and precision. The fairway is generous, but don’t be fooled into complacency; it’s the approach that can make or break your score here. Long hitters might fancy their chances to reach in two, but for most, it’s a three-shotter. Play it smart, and you could be jotting down a satisfying number on the scorecard. Just make sure you pick the right club and watch the wind, or you might find more trouble than you bargained for!
Portarlington Hole 7 – Par 4

Index: 8
Lengths: Black: 356 metres, Blue: 331 metres, Red: 316 metres, Yellow: 311 metres, Orange: 225 metres
Ah, Hole 7, a par-4 that’s a bit of a dark horse with a stroke index of 8. Stretching out at 356 metres (389 yards) from the black tees, it shortens up progressively to 331 metres (362 yards) from the blue, 316 metres (346 yards) from the red, 311 metres (340 yards) from the yellow, and a more approachable 225 metres (246 yards) from the orange. Don’t let the lack of visible dramas fool you; the real challenge is in the subtleties of the layout. With a fairway that gently tugs left, the right tee shot placement is crucial to setting up a clear approach. The green is welcoming enough but guarded by a sly bunker that’s more deceptive than it looks — never too punishing, but enough to keep you honest. It’s the kind of hole that might not make the postcard, but it’ll definitely make your round, testing both strategy and execution without any fanfare.
Portarlington Hole 8 – Par 4

Index: 10
Lengths: Black: 330 metres, Blue: 300 metres, Red: 285 metres, Yellow: 282 metres, Orange: 130 metres
Ah, Hole 8, a cheeky Par 4 that’s more about strategy than strength. It’s a tidy 330m (361y) from the black tees, scaling down to a more manageable 282m (308y) from the yellows, and even a breezy 130m (142y) from the oranges, which might tempt the less daring to think it’s an easy birdie. With a stroke index of 10, it’s neither the toughest test on the course nor a walk in the park. What makes this hole stand out is the need for a well-placed tee shot. No real drama in the form of bunkers or water hazards, but don’t let the apparent simplicity fool you. The green has a few subtle breaks that can turn a sure birdie into a scrambling par or worse. It’s the kind of hole where a bit of local knowledge and careful club selection pays off, perfect for a bit of one-upmanship against your mates.
Portarlington Hole 9 – Par 5

Index: 17
Lengths: Black: 443 metres, Blue: 433 metres, Red: 443 metres, Yellow: 424 metres, Orange: 230 metres
Ah, Hole 9, a par 5 that’s more of a gentle handshake than a firm grip, with a stroke index of 17 suggesting it’s one of the easier jaunts on the course. Stretching out to 443 metres (485 yards) from the black tees, 433 metres (473 yards) from the blue, right down to a friendly 230 metres (251 yards) from the orange, it offers a bit of relief after some of the course’s more grueling tests. There are no notable landmarks or tricky hazards to speak of, but don’t let that fool you into complacency. The layout demands a strategic approach with a clear head. Whether you’re trying to reach in two or laying up, the true challenge lies in managing the subtle undulations and the occasional gust that sweeps across the fairway. Perfect for a bit of a breather and a chance to adjust the scorecard in your favour before making the turn.
Portarlington Hole 10 – Par 4

Index: 3
Lengths: Black: 370 metres, Blue: 361 metres, Red: 323 metres, Yellow: 316 metres, Orange: 135 metres
Alright mates, let’s talk about Hole 10. This one’s a real thinker, a par 4 with a stroke index of 3, so don’t expect a walk in the park. From the black tees, you’re looking at 370m (404y) of fairway, stepping down to 361m (395y) from the blues, and for those opting for a tad shorter, the reds sit at 323m (353y) and the yellows at 316m (346y). For the juniors and beginners, the oranges offer a friendly 135m (148y) drive. Now, while there might not be any flashy points of interest to gawk at, the real game here is in the layout. You’ll need a solid strategy off the tee – pick your line and commit. The fairway’s subtle undulations could make or break your approach, and getting the distance just right is more art than science. It’s one of those holes where par feels like a minor victory and a birdie a cause for celebration. So, keep your wits about you and play it smart.
Portarlington Hole 11 – Par 5

Index: 15
Lengths: Black: 483 metres, Blue: 473 metres, Red: 460 metres, Yellow: 458 metres, Orange: 280 metres
Ah, Hole 11, she’s a bit of a deceptive beauty, stretching a hearty 483 metres (528 yards) from the back tees. Don’t let the stroke index of 15 fool you; while it may look like a walk in the park, this par 5 requires a bit of noggin use. With the tee shot, you’re given a few strategic choices. Play it safe, and you might just have an easy ride with a chance to reach the green in three, or if you’re feeling cheeky, a big hit might just set you up for an eagle attempt. The fairway is generous but don’t be complacent—positioning here is key to avoiding a longer approach shot. The lack of notable hazards means the hole doesn’t punish too harshly, but it’s the subtle undulations of the green that can make or break your score. Hole 11 is a real chance to catch your breath if played with a smidge of strategy, perfect for a bit of boastful banter as you saunter toward the 12th.
Portarlington Hole 12 – Par 4

Index: 6
Lengths: Black: 330 metres, Blue: 315 metres, Red: 303 metres, Yellow: 297 metres, Orange: 80 metres
Ah, Hole 12, a deceptive charmer and a stout test of your strategic prowess, mates. This par 4, with a stroke index of 6, demands precision right from the tee. Stretching out at 330m (361y) from the black tees down to a more manageable 297m (325y) from the yellows, it’s not the length that’ll test you here — it’s how you play it. While the hole might appear straightforward, the absence of any dramatic landmarks like bunkers or water hazards means your focus should be on mastering the subtle undulations and aiming for a clean, smart drive to set yourself up for a solid approach. Don’t be fooled by its apparent simplicity; this hole is a thinker’s delight and could easily make or break your back nine. So, choose your clubs wisely, and maybe keep a cold one ready at the clubhouse to either celebrate your triumph or soothe the sting of those extra strokes!
Portarlington Hole 13 – Par 4

Index: 18
Lengths: Black: 241 metres, Blue: 231 metres, Red: 241 metres, Yellow: 156 metres, Orange: 130 metres
Ah, Hole 13, the cheeky rascal of the course, and with a stroke index of 18, it’s the breather we all secretly look forward to. At 241 metres (264 yards) from the Black and Red tees, and a slightly less daunting 231 metres (253 yards) from the Blue, this par 4 offers a straightforward challenge without any intimidating features to disrupt your zen. For those looking for a less stern test, the Yellow tee sits at a friendly 156 metres (171 yards), and the Orange tee is nestled even closer at 130 metres (142 yards). A slight undulation here and there keeps you on your toes, but with no significant bunkers, water hazards, or doglegs, it’s as honest as they come. Perfect for regaining your stride or, for the ambitious, perhaps taking a bold swing at getting below par. Just enough to keep the banter lively without the risk of a triple bogey story.
Portarlington Hole 14 – Par 4

Index: 2
Lengths: Black: 404 metres, Blue: 386 metres, Red: 400 metres, Yellow: 362 metres, Orange: 260 metres
Ah, Hole 14, the true test of mettle on this course, ranking stoutly at a stroke index of 2. Stretching out to a robust 404 metres (442 yards) from the black tees, it’s not for the faint of heart. Even from the forward tees — 386 metres (422 yards) blue, 400 metres (437 yards) red, 362 metres (396 yards) yellow, and a more forgiving 260 metres (284 yards) orange — it demands respect and strategic thinking. This par 4 offers no gimmicks, just straightforward golf with a premium on precision from tee to green. The fairway is deceptively welcoming, but don’t be lulled into complacency; positioning here is key, as the approach to the green can be tricky, often playing into a subtle breeze that doesn’t feel like much until your ball is suddenly short and left. It’s a hole where pars feel like birdies, and birdies are a cause for celebration. So, choose your club wisely, aim with care, and maybe, just maybe, you’ll conquer this beast.
Portarlington Hole 15 – Par 4

Index: 1
Lengths: Black: 386 metres, Blue: 339 metres, Red: 310 metres, Yellow: 304 metres, Orange: 235 metres
Ah, Hole 15 — now this is where the game gets a bit cheeky. With a par of 4 and the honour of being the toughest on the course, a stroke index of 1, it demands respect and a solid strategy. Stretching out to 386 metres (422 yards) from the Black tee, down to a more manageable 235 metres (257 yards) from the Orange, it offers a challenge for everyone from the seasoned pro to the optimistic amateur. While it might seem straightforward, don’t let it fool you. There’s no flashy water hazards or sneaky bunkers to catch your eye, but the true test is in mastering the subtle undulations and the clever use of natural landscapes. It’s a brute, alright, but conquer it, and you’ll have serious bragging rights back at the clubhouse. So, take a deep breath, choose your club wisely, and maybe, just maybe, you’ll tame this beast.
Portarlington Hole 16 – Par 4

Index: 14
Lengths: Black: 322 metres, Blue: 306 metres, Red: 290 metres, Yellow: 268 metres, Orange: 215 metres
Ah, Hole 16, a cheeky Par 4 that’ll lure you into thinking it’s a walk in the park, but don’t be fooled. With a modest stroke index of 14, it plays 322 metres (352 yards) from the black tees down to a welcoming 215 metres (235 yards) from the orange. While it might not boast the dramatics of water hazards or the theatre of snaking bunkers, the real game here is all about strategic mastery and pinpoint accuracy off the tee. The fairway is forgiving enough, but it’s the approach that’ll test your mettle, demanding a well-judged shot to land on the subtly challenging green. Perfect for those looking to recover some ground late in the round, or just keep a good score going, Hole 16 offers a tantalizing blend of challenge and opportunity. Play it smart, and you might just walk off with a grin as wide as the fairway.
Portarlington Hole 17 – Par 3

Index: 11
Lengths: Black: 143 metres, Blue: 90 metres, Red: 115 metres, Yellow: 90 metres, Orange: 90 metres
As you approach the tail end of your round, Hole 17 at this course offers a tantalising breather with its status as the shortest hole on the layout. A par-3 that stretches just 143 metres (156 yards) from the black tees, it narrows down to a mere 90 metres (98 yards) from the blue, yellow, and orange markers. With a stroke index of 11, it’s not going to bully you like some of the course’s earlier tests, but don’t be fooled into complacency. The real challenge here lies in the precision of your tee shot. No significant doglegs or treacherous water hazards to wrestle with, yet the green demands respect, subtly contoured to test your short game finesse. It’s a straightforward pitch, but one that requires a deft touch to set up a satisfying birdie chance as you head into the final stretch. So, take a moment, choose your club wisely, and maybe, just maybe, you’ll walk off with a grin as wide as the fairway is long.
Portarlington Hole 18 – Par 4

Index: 13
Lengths: Black: 318 metres, Blue: 308 metres, Red: 304 metres, Yellow: 254 metres, Orange: 240 metres
As you step up to the tee of the 18th, you’re looking down the barrel of a 318-metre (348-yard) Par 4 finale that’s more a test of strategy than brute strength, despite what the yardage might imply. With a Stroke Index of 13, it’s neither the toughest on the course nor a pushover, striking a neat balance that should keep you on your toes right till the last putt. The layout here is straightforward, with no severe doglegs or daunting water hazards, yet it demands a tidy drive and a sharp approach. Given the variety of tee options — scaling down to a friendly 240 metres (262 yards) from the orange — choosing where to launch from could be the difference between a swagger or a stagger into the clubhouse. It’s a fitting end to a day’s play, offering just enough challenge to keep the stories flowing back at the 19th hole.
Course Stats Summary
- Holes: 18
- Total Par: 72
- Longest Hole: 490 metres
- Shortest Hole: 143 metres