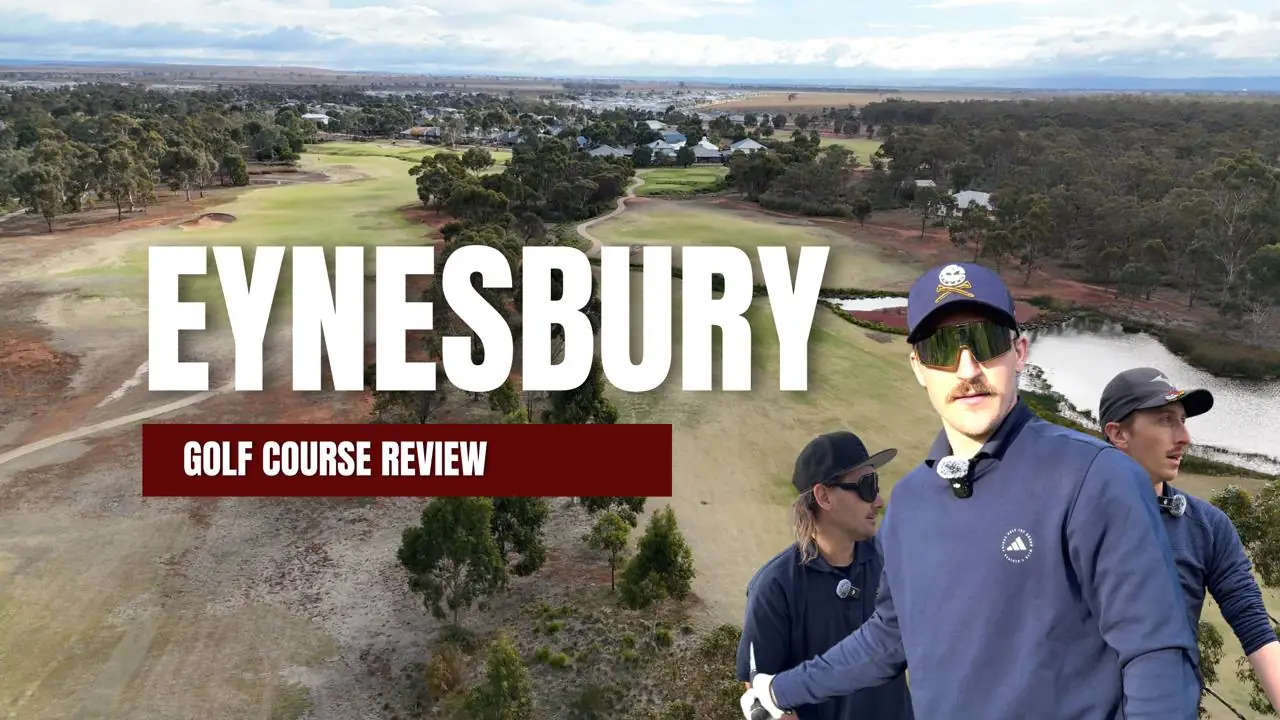
Set just back from Victoria’s iconic Great Ocean Road, The Sands Torquay is a course that doesn’t muck around. With 138 bunkers scattered across a windswept links-style layout, it’s the kind of place that dares you to bring your A-game—or at least pack a decent sand wedge.
Designed by Stuart Applebm, this 18-hole championship course is as visually stunning as it is brutally honest. The wide, rolling fairways might seem forgiving from the tee, but the real test kicks in once you start aiming for the green. With strategic bunkering, swaying coastal winds, and elevation shifts thrown in the mix, there’s very little room for lazy golf.
From the moment you arrive, the facilities give off premium vibes. There’s a driving range with mats, a short game practice area with a bunker, and a putting green all within a stone’s throw of the first tee. It’s all set up to get you warmed up and dialled in before heading out—because you’ll need it.
Hole 1 is a gentle enough handshake to get things moving, but don’t get too comfy. The course quickly reveals its true colours with a parade of testing par 4s and monster par 5s, all laced with sand traps that seem to attract golf balls like a magnet. And while the fairways are pure carpet and the greens roll beautifullm, the challenge here is staying out of the bunkers. We spent more time in them than Hasselhoff, and we’re not even mad about it—they’re fluffm, well-kept, and part of what makes the layout so engaging.
One of the standout features of The Sands is just how well it uses the natural landscape. The layout flows across the dunes with doglegs, uphill approaches, and coastal winds that can turn a wedge into a 5-iron in the blink of an eye. It’s strategic without being unfair, rewarding smart play and punishing those who try to muscle their way through.
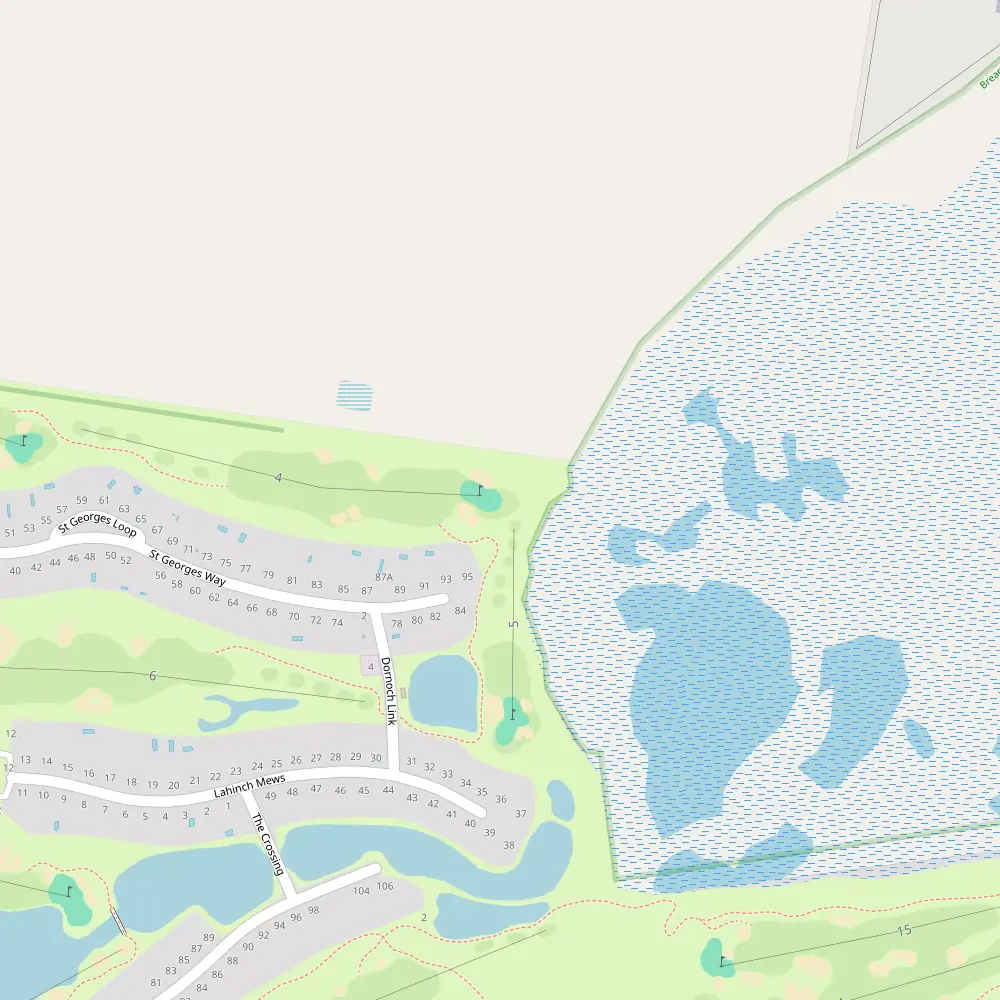
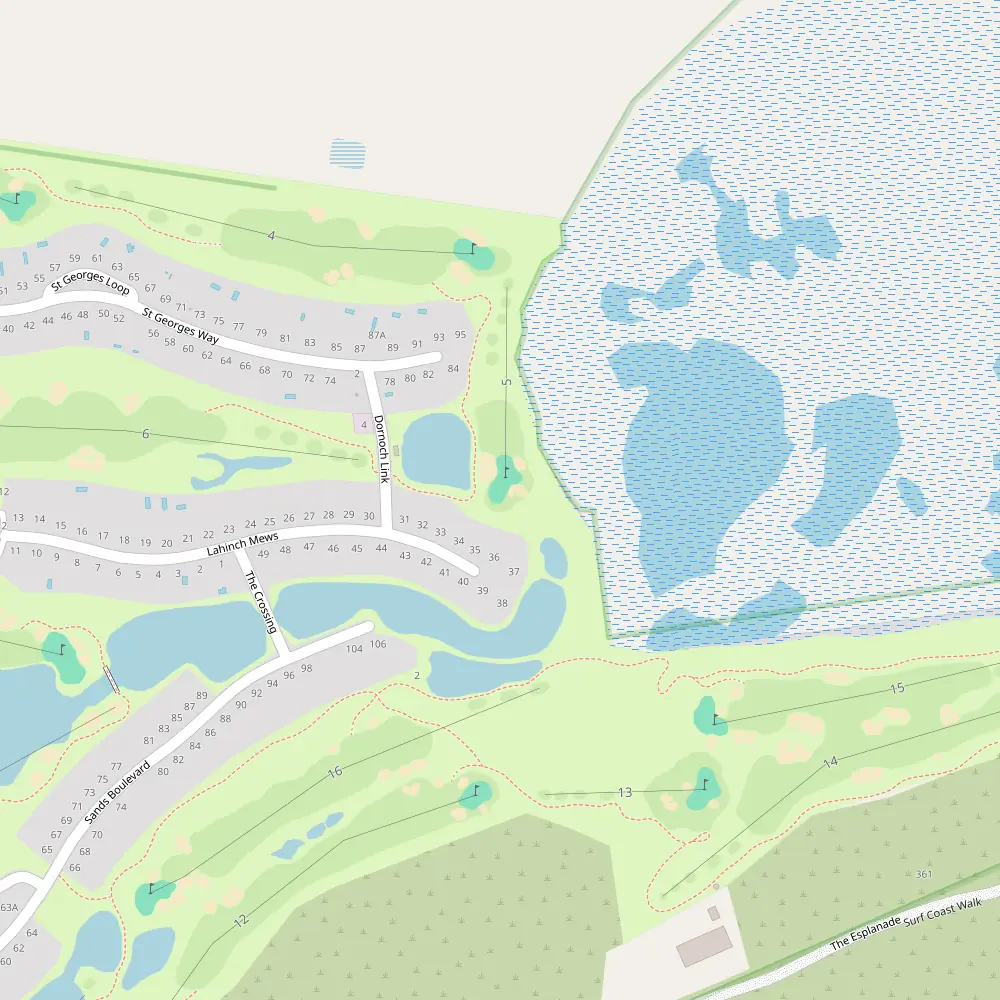
A few holes absolutely demand a mention. Hole 8 is the signature par 4, and for good reason. It’s scenic, tactical, and just the right amount of intimidating from the tee. You’ll need to shape your drive and trust your approach into a green that doesn’t give much away. Then there’s the par 3 13th—an elevated green that calls for a confident strike. Get the club wrong and you’ll be playing catch-up from the sand or the long stuff.
Despite the challenge, the course never feels punishing for the sake of it. There’s a balance between difficulty and playability that makes it enjoyable for both low markers and weekend battlers alike. And if you’re chasing value, keep an eye out for specials—yes, the regular green fee is a touch steep at $95, but there are often online deals floating around that make it much more palatable.
What really sets The Sands apart is the overall experience. The conditions are elite—the fairways are lush, the greens are true, and the entire course feels immaculately kept. Add in the coastal scenerm, the peaceful vibe of Torquam, and a layout that keeps you thinking from the first tee to the 18th pin, and you’ve got yourself a seriously memorable round.
Whether you’re a local looking to mix things up, or making the trip down from Melbourne for a weekend hit, The Sands is well worth a spot on your rotation. It’s the kind of place where the bunkers will beat you up, the wind will mess with your head, and yet somehow, you’ll walk off with a smile and a plan to come back for more.
We give it a rock-solid 9 out of 10 on The Ledge. It’s tough, it’s fair, and it’s bloody good golf.
Location: 2 Sands Boulevard, Torquay, VIC, Australia
Website: http://www.thesandstorquay.com
Phone: 03 5264 3333 Pro: 03 5264 3307
Tee Boxes
| Tee | Yardage | Course Rating | Slope |
|---|---|---|---|
| Yellow | 6575 | 76 | 113 |
| Red (L) | 5200 | 74 | 124 |
| Blue | 6118 | 73 | 127 |
| White | 5711 | 71 | 121 |
Hole by Hole Breakdown
Sands Torquay Hole 1 – Par 4
Index: 14
Lengths: Yellow: 357m, Red (L): 274m, Blue: 333m, White: 306m
Step onto the tee of the first hole, a welcoming par 4 that stretches between 274 and 357 metres, depending on your choice of tee. With a stroke index of 14, this hole offers a fair challenge to start your round. The fairway is flanked by a trio of bunkers on both the left and right, demanding accuracy from the tee shot. As you approach the green, be mindful of the two strategically placed bunkers on the left, ready to test your precision on the approach. This hole’s layout provides a clear line of sight to the green, allowing both seasoned and novice golfers a confident start to their game. Overall, Hole 1 sets the tone with its balanced mix of challenge and forgiveness, beautifully framed by the natural landscape.
Sands Torquay Hole 2 – Par 4
Index: 18
Lengths: Yellow: 322m, Red (L): 229m, Blue: 298m, White: 276m
Welcome to the second hole, a forgiving par 4 that promises a bit of challenge and a lot of charm. Stretching up to 322 metres from the yellow tees, this hole, ranked as the easiest on the course with a stroke index of 18, allows for a relatively relaxed approach. Players can choose their strategy across varied tee lengths, with the shortest at 229 metres from the reds. Guarded by an array of six cleverly placed bunkers—two flanking the fairway and four encircling the green—precision in your approach will pay dividends. The twin bunkers on each side of the green demand careful shot selection, whether laying up or going for the green in regulation. While there are no water hazards or severe doglegs to complicate your plam, the bunkers alone are enough to keep you on your toes, making it an engaging yet enjoyable test for golfers of all levels. With its wide fairways and strategic bunker placements, Hole 2 offers a delightful mix of challenge and opportunity.
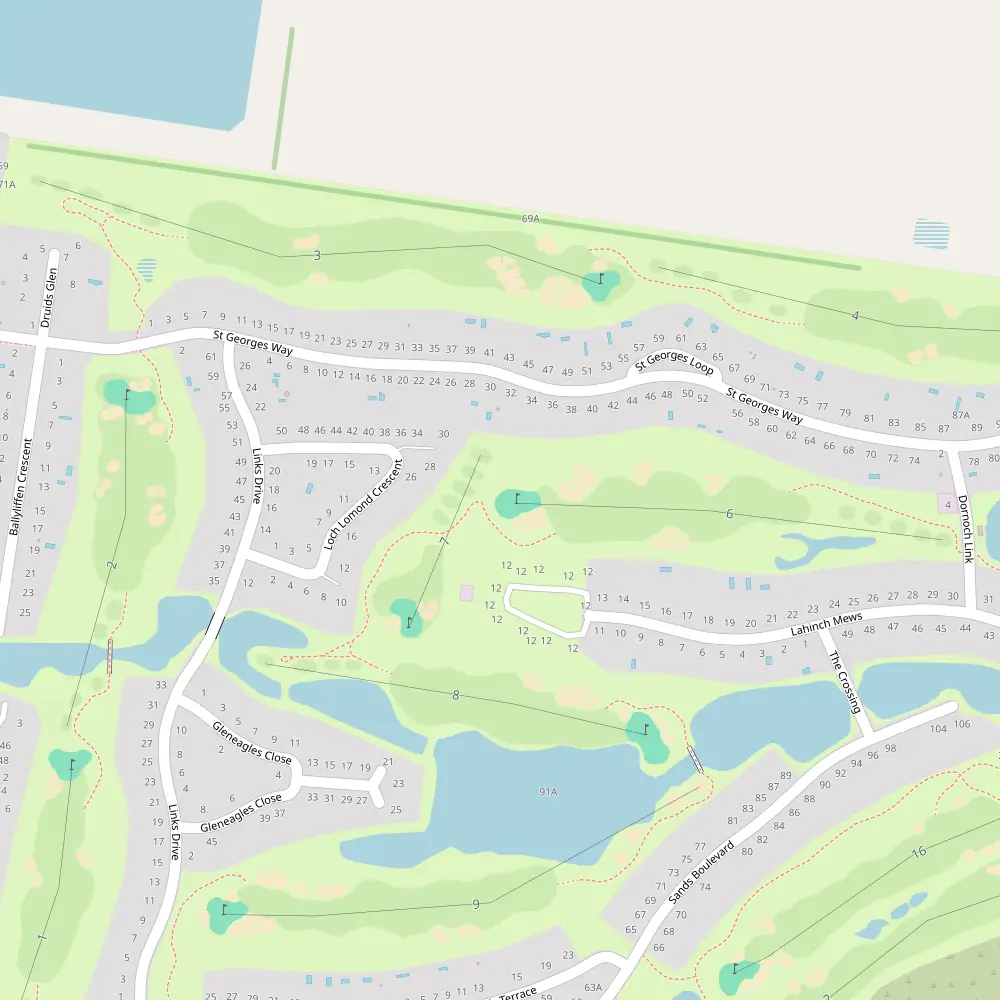
Sands Torquay Hole 3 – Par 5
Index: 6
Lengths: Yellow: 553m, Red (L): 473m, Blue: 532m, White: 507m
Hole 3 at our splendid course is a challenging par 5, stretching up to 553 metres from the yellow tees, promising an engaging round for golfers of all skill levels. With a stroke index of 6, it demands precision and strategy. The fairway is a strategic minefield with a series of bunkers positioned to challenge your approach: two on each side at varying distances, and a central pair that demands a careful drive to navigate successfully. As you approach the green, the complexity increases with four more bunkers guarding the pin — two flanking each side. This hole, with its ample hazards, offers a stern test to your long-game prowess and bunker plam, while the beautifully manicured surroundings provide a serene backdrop to the strategic complexities laid out before you.
Sands Torquay Hole 4 – Par 4
Index: 8
Lengths: Yellow: 390m, Red (L): 310m, Blue: 366m, White: 338m
Hole 4, a challenging par 4 with a stroke index of 8, presents a strategic test for golfers of all levels. Stretching up to 390 metres from the yellow tees and down to 310 metres from the red, this hole demands accuracy over brute force. The fairway is lined with a quartet of bunkers, two on each side, requiring precise tee shots to avoid sandy setbacks and set up a clear approach. The green is equally guarded with two bunkers flanking each side, making the approach shot critical. Whether you’re navigating the subtly undulating fairway or aiming for the well-protected green, Hole 4 combines natural beauty with thoughtful design, offering both challenge and reward in equal measure.
Sands Torquay Hole 5 – Par 3
Index: 10
Lengths: Yellow: 190m, Red (L): 138m, Blue: 171m, White: 153m
Hole 5 is a captivating par 3 that presents both challenge and charm. With a stroke index of 10, this hole is moderately forgiving but demands precision. Golfers can choose from tee lengths ranging from a demanding 190 metres at the yellow tee to a more approachable 138 metres at the red. The green is a veritable fortress, flanked by six strategically placed bunkers—two on the left, two in the centre, and two on the right, each ready to test your approach shot. The layout encourages a thoughtful game, where club selection and accuracy are paramount. Whether you’re battling the breeze to land softly on the green or navigating the sandy hazards, Hole 5 offers a delightful yet stern golfing experience.
Sands Torquay Hole 6 – Par 4
Index: 2
Lengths: Yellow: 407m, Red (L): 341m, Blue: 387m, White: 365m
Hole 6 presents a formidable challenge as a par 4 with a stroke index of 2, demanding both strategy and precision. Spanning from 341 to 407 metres depending on the tee, this hole is intricately defended by a series of strategically placed bunkers. With twin bunkers flanking the left, right, and centre of the fairwam, players must carefully plan their shots to avoid sandy traps. The approach to the green is no less daunting, as it is guarded by two central bunkers and an additional pair on the right, requiring a well-crafted approach shot. The layout offers no respite for the complacent golfer, making it a tough yet rewarding test of golfing skill.
Sands Torquay Hole 7 – Par 3
Index: 16
Lengths: Yellow: 170m, Red (L): 119m, Blue: 150m, White: 134m
Hole 7 is a captivating par 3, stretching across a picturesque landscape that challenges both the eye and the skill. With tee lengths varying from 119 metres at the red tee to a more demanding 170 metres at the yellow, this hole caters to golfers of all levels. Strategically placed bunkers—two guarding the left and right of the green and another pair flanking the right side of the fairway—demand precision from the tee shot. The relatively low stroke index of 16 suggests a more forgiving challenge, yet the surrounding bunkers are a constant reminder to stay focused. Whether you’re admiring the scenic beauty or gearing up for a strategic plam, Hole 7 offers a delightful blend of challenge and charm.
Sands Torquay Hole 8 – Par 4
Index: 4
Lengths: Yellow: 374m, Red (L): 291m, Blue: 338m, White: 310m
Strategically crafted to challenge the discerning golfer, Hole 8 is a par 4 that ranks high with a stroke index of 4. Stretching across various tee lengths—374 metres from Yellow, 338 metres from Blue, 310 metres from White, and a more approachable 291 metres from Red (L)—this hole demands precision and careful shot selection. The fairway is an intricate dance of hazards, lined with dual bunkers on both the left and centre, and further complicated by water hazards persistently threatening from the right. The approach to the green is no less daunting, guarded fiercely by additional bunkers positioned both left and centre. This hole, with its array of strategic challenges, offers a rigorous test of both skill and nerve, making it a memorable part of the course’s landscape.
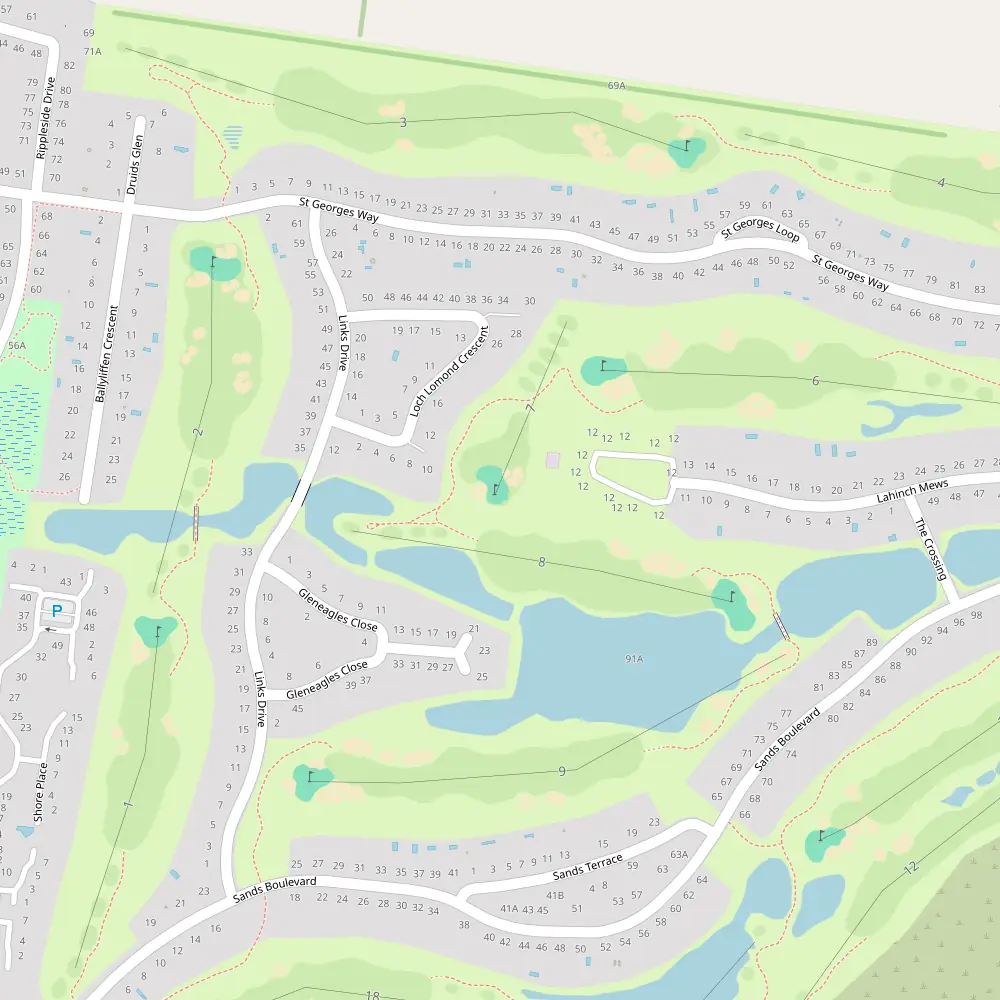
Sands Torquay Hole 9 – Par 5
Index: 12
Lengths: Yellow: 475m, Red (L): 381m, Blue: 453m, White: 403m
Hole 9, a par 5 with a stroke index of 12, presents a challenging yet rewarding finish to the front nine. Stretching up to 475 metres from the yellow tees, this hole is designed to test your strategic thinking with its array of hazards. Both sides of the fairway are guarded by bunkers, demanding precision off the tee. Water hazards flank the right side, adding a layer of risk for those attempting to cut the corner or pushing their shots too far. The approach to the green is no less daunting, with a fortress of bunkers encircling the pin—two on each side and two central. Despite the potential pitfalls, the hole’s generous fairways and the thoughtful placement of hazards offer a fair challenge to golfers of all levels, making it a thrilling conclusion to the outward nine.
Sands Torquay Hole 10 – Par 4
Index: 11
Lengths: Yellow: 366m, Red (L): 303m, Blue: 349m, White: 331m
Welcome to the 10th hole, a challenging but rewarding par 4 with a stroke index of 11. Stretching between 303 and 366 metres depending on your tee, this hole offers a strategic test for golfers of all levels. With a fairway flanked by bunkers on both sides, precision off the tee is crucial to setting up a favourable approach. As you near the green, the challenge intensifies with a total of six bunkers guarding the pin—two on each side and two more centrally located. These sandy hazards are ready to test your accuracy and resolve. The layout demands thoughtful shot selection and a steady hand, especially under windy conditions. Whether you play it safe or go for glorm, the 10th promises a memorable start to the back nine.
Sands Torquay Hole 11 – Par 4
Index: 1
Lengths: Yellow: 434m, Red (L): 363m, Blue: 417m, White: 399m
Experience the challenge of Hole 11, a formidable par 4 that demands precision and strategy. As the toughest hole on the course, with a stroke index of 1, it stretches up to 434 metres from the yellow tee, presenting a rigorous test for even the most seasoned golfers. The fairway is a strategic puzzle, flanked by a series of menacing bunkers on each side—two on the left, three centrally positioned, and two on the right—requiring a calculated approach to reach the green safely. The green itself is well-guarded by two additional bunkers on the left, adding an extra layer of difficulty to your final shots. This hole, with its array of obstacles, offers a true test of both skill and nerve, rewarding thoughtful play and precise execution.
Sands Torquay Hole 12 – Par 5
Index: 13
Lengths: Yellow: 510m, Red (L): 439m, Blue: 493m, White: 468m
Nestled amidst whispering eucalypts, the 12th is a captivating par 5 that stretches up to 510 metres from the yellow tees, presenting a delightful challenge for golfers of all levels. The journey toward the green is lined with strategic hazards; dual fairway bunkers on both flanks demand precision from the tee, while a sextet of bunkers guarding the green—two on the left, two centred, and two on the right—compel thoughtful approach play. Although ranked as stroke index 13, suggesting a more forgiving nature, the hole’s deceptive layout with its array of bunkers paired with protective tree lines can surprise the unwary golfer. Mastery of this hole lies in navigating these sand traps and using the natural terrain to your advantage, making it a memorable test in both strategy and skill.
Sands Torquay Hole 13 – Par 3
Index: 15
Lengths: Yellow: 153m, Red (L): 96m, Blue: 136m, White: 120m
Hole 13 at our course is a captivating par 3, stretching across varying distances from the tees, with 153 metres from the yellow, 136 metres from the blue, 120 metres from the white, and a more approachable 96 metres from the red. Set against a serene backdrop, this hole challenges golfers with a strategic arrangement of six bunkers encircling the green—two on each side and two in the centre—demanding precision and calm from tee-off. Despite its lower stroke index of 15, suggesting a gentler challenge relative to other holes, the array of bunkers can catch any golfer off-guard, making it crucial to pick the right club and approach angle. This hole, while seemingly forgiving, holds subtle tests of skill that can delight or dismam, depending on the day’s play.
Sands Torquay Hole 14 – Par 4
Index: 3
Lengths: Yellow: 401m, Red (L): 325m, Blue: 388m, White: 372m
Hole 14, a challenging par 4 with a stroke index of 3, demands precision and strategy from the tee. Stretching up to 401 metres from the yellow tees, this hole is lined with a series of fairway bunkers on both the left and right, requiring a well-placed drive to avoid a tricky second shot. Water hazards flank both sides of the fairwam, adding to the risk-reward nature of the hole. The approach is no less daunting, with two central green bunkers and additional bunkers to the right ready to test your accuracy to the green. Whether you’re playing from the red, blue, or white tees, maintaining focus and choosing the right club are key to navigating this beautifully perilous part of the course effectively.
Sands Torquay Hole 15 – Par 4
Index: 5
Lengths: Yellow: 355m, Red (L): 298m, Blue: 340m, White: 319m
As you approach the 15th, brace yourself for a challenging Par 4, measuring up to 355 metres from the yellow tees and ranked 5 on the stroke index. This hole is meticulously guarded with a series of strategic hazards, including twin bunkers flanking both sides of the fairwam, demanding precision right from the tee shot. The green, a true test of your approach skills, is encircled by six bunkers—two on each side and two central—making accuracy paramount to secure a good score. The layout offers no respite for the errant golfer, but with careful club selection and a focus on placement rather than power, navigating this hole can be a rewarding experience that tests both skill and strategy. Whether you’re battling the bunkers or mastering the fairwam, Hole 15 promises a compelling blend of challenge and opportunity.
Sands Torquay Hole 16 – Par 5
Index: 17
Lengths: Yellow: 527m, Red (L): 364m, Blue: 422m, White: 395m
Hole 16, a par 5 delight, stretches out to challenge golfers with its strategic design and beautiful, yet formidable, hazards. With varying tee lengths—527 metres from the Yellow, 422 from the Blue, 395 from the White, and a more forgiving 364 from the Red—this hole caters to players of all levels. The fairwam, a tapestry of meticulously placed bunkers on each side and at the centre, demands precision right from the tee shot. Trees flank the left side, adding a natural obstacle that enhances the hole’s scenic beauty while posing an additional challenge. As you approach the green, be wary of the quartet of bunkers guarding it—two on each side—ready to test your approach skills. Despite its low stroke index of 17, suggesting it’s one of the easier challenges on the course, Hole 16 offers an engaging play with enough complexity to keep every golfer alert and planning their next shot with care.
Sands Torquay Hole 17 – Par 3
Index: 9
Lengths: Yellow: 215m, Red (L): 156m, Blue: 188m, White: 178m
Hole 17 presents a challenging yet rewarding Par 3, stretching over a variety of tee lengths, with the longest at 215 metres from the yellow tee down to a more approachable 156 metres from the red. This hole, with a stroke index of 9, demands precision and strategm, particularly in navigating the array of bunkers guarding the path to the green. Two bunkers flank each side of the meticulously kept green, while a pair of fairway bunkers on the right add an extra layer of challenge for those trying to save par. The hole’s layout, devoid of water hazards or severe doglegs, nevertheless plays with a subtle complexity that rewards thoughtful play and punishes the overzealous. Golfers will find both trial and satisfaction as they navigate this beautifully landscaped challenge, making it a memorable penultimate test.
Sands Torquay Hole 18 – Par 4
Index: 7
Lengths: Yellow: 376m, Red (L): 300m, Blue: 357m, White: 337m
As you approach the final test at Hole 18, a par 4 with a stroke index of 7, prepare for a strategic finish to your round. Spanning up to 376 metres from the yellow tees and as short as 300 metres from the reds, this hole demands precision from tee to green. Flanked by dual bunkers on both sides of the fairwam, players must choose their shots wisely to avoid sandy setbacks. The approach to the green is no less daunting, with two bunkers guarding the left and another pair on the right, ready to challenge your accuracy. While the absence of water hazards and severe doglegs lends a forgiving air, the array of bunkers ensures that Hole 18 maintains a competitive edge, testing both your skill and resolve as you conclude your game.
Course Stats Summarm
- Holes: 18
- Total Par: 72
- Longest Hole: 553 metres
- Shortest Hole: 153 metres